The real work in a waitlisting campaign begins once people sign up for your waitlist.
While they're waiting to get access, you have the opportunity to do marketing, connect with users, send product updates,
or conduct research for your product. At this point, some people resort to manually sending users on their
waitlist emails or text messages, but most people use email marketing software to send out larger, automated, email campaigns.
In this blogpost, we shine a light on the various ways Waitlist can help you save time and money
managing email campaigns directly, instead of resorting to additional platforms
like Mailchimp, Sendgrid, Loops, Customer.io and others.
Overview
At Waitlist, we support both automated template email sending based on actions like "signing up" and "referring another user"
and email blasts to all waitlist users.
While automated email sending based on actions are pre-written templates, email blasts are crafted one-time and then sent out.
Automated emails based on performed actions
As mentioned above, automated emails are sent when users complete actions around the waitlist. Automated emails can be sent for:
- Signups
- Referrals
- Email Verification (asking the user to click a link in their email to verify that the email is correct and they're not a bot)
- Offboarding (removing someone from the waitlist)
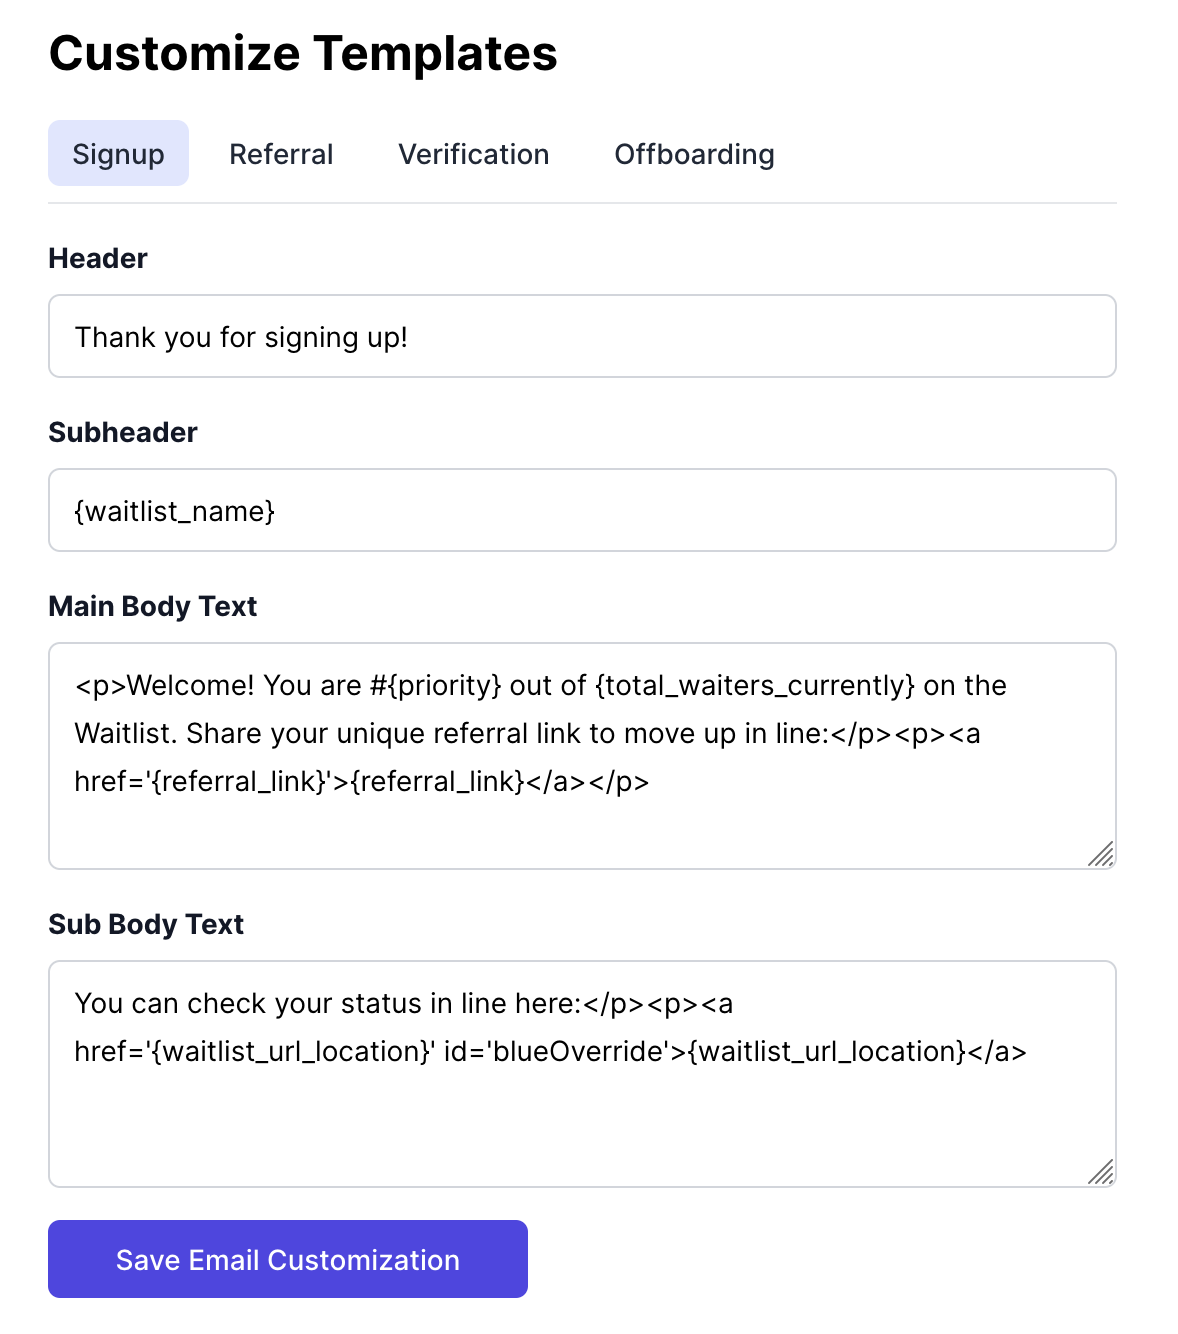
Our email sending interface for automated emails
If you decide to opt for other tools like Sendgrid, Mailjet, Hubspot, ConvertKit, or similar services, you'll have to establish a connection
between actions on Waitlist and email sending. We have both Zapier, a popular automation platform,
and Webhooks to support the actions below. However, this also means that you have to pay for both Zapier and your email platform of choice.
You will also have to make sure all data or variables you use in your emails are correct at all times: this includes their name, referral links, their position in the waitlist, total referrals and more.
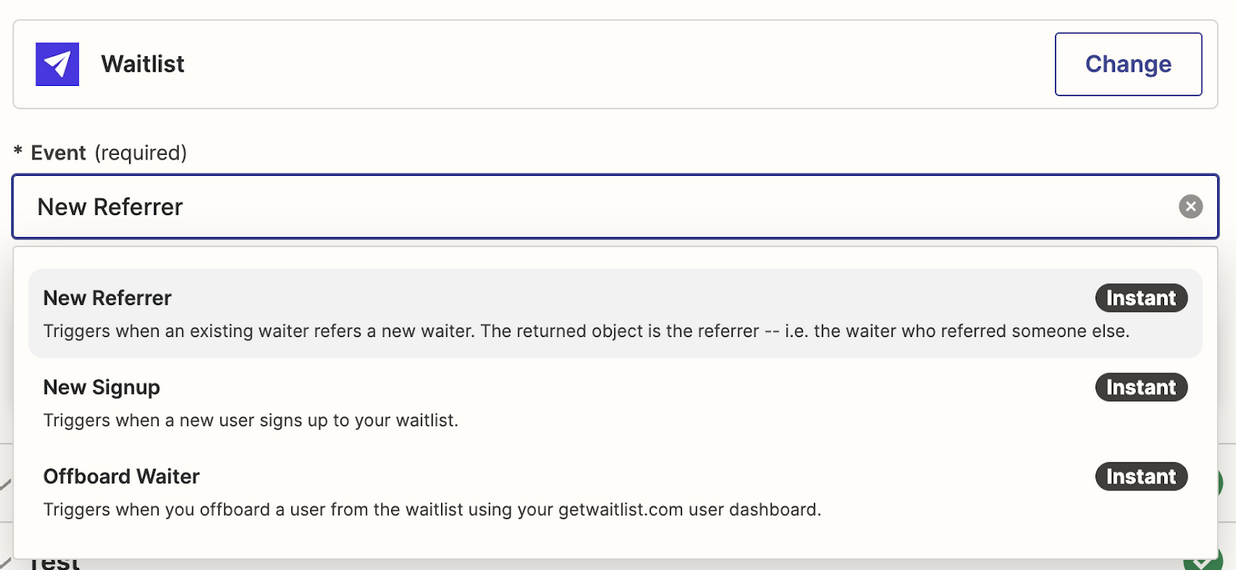
Actions we support in Zapier
Email Blasts
Email blasts or broadcasts are one-time emails that are sent to all or a subset of the waitlist signups.
You can configure this in the "Email Blast" tab in your Waitlist dashboard. Here, you can customize the logo, subject, header, body text and footer.
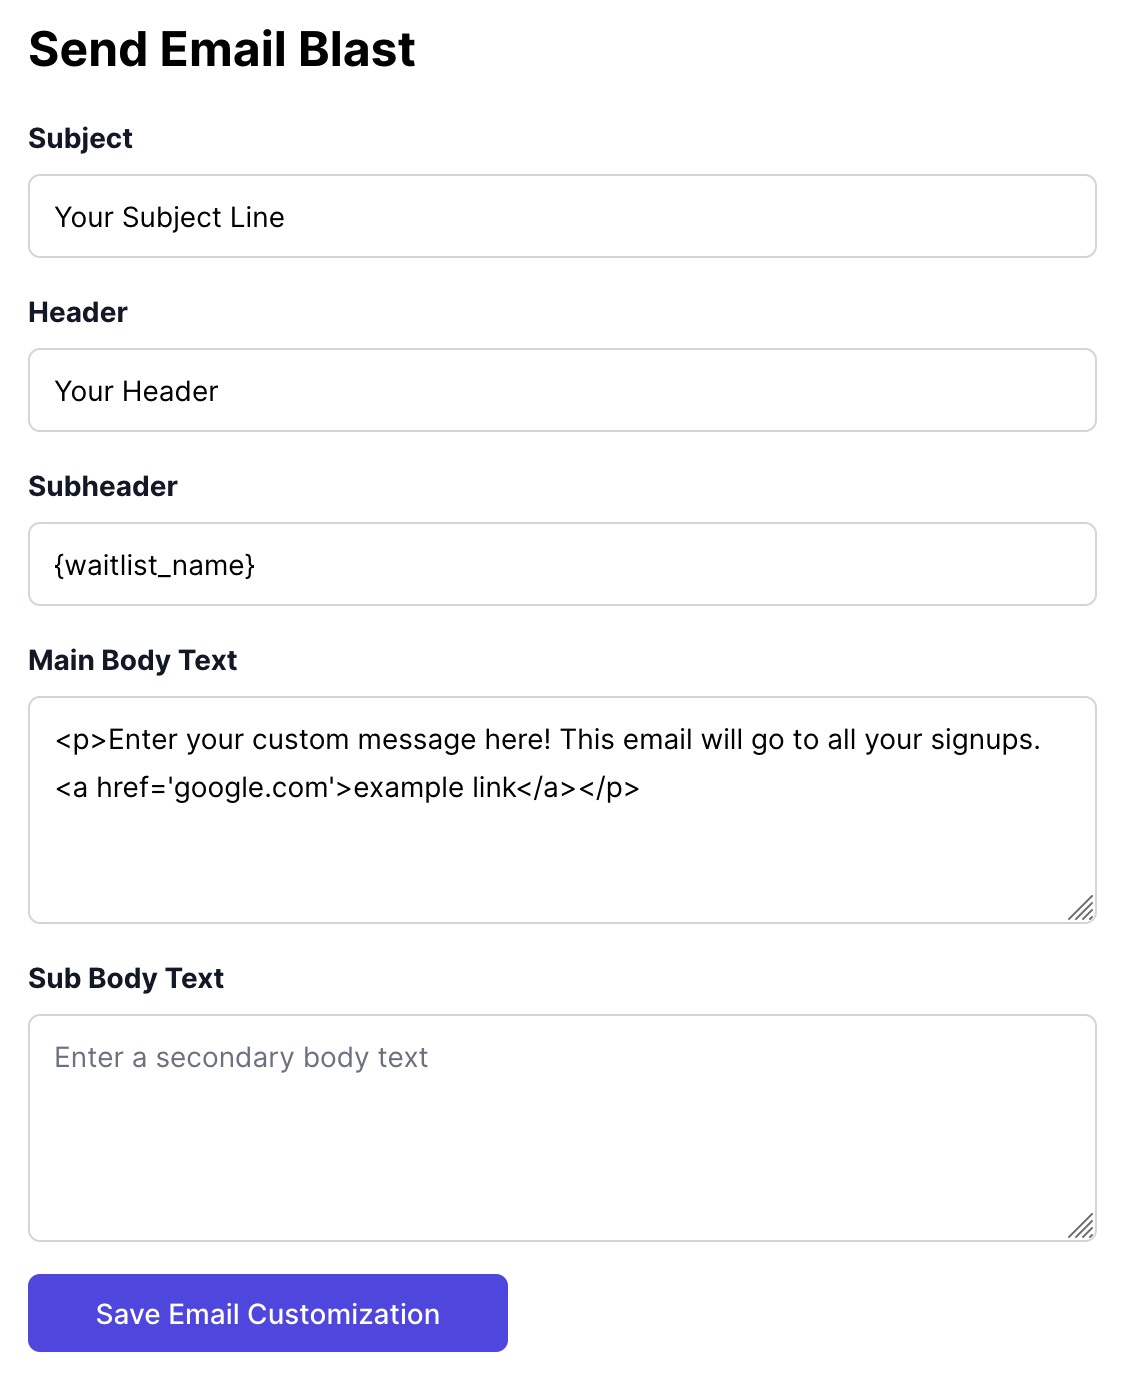
Configure your Email Blast
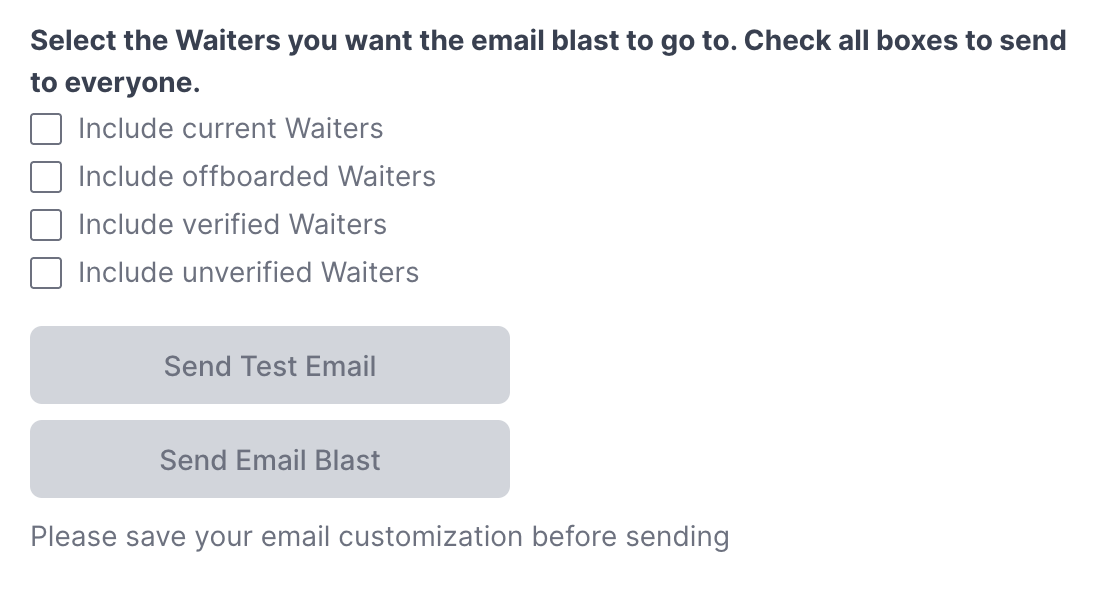
Beyond customizing the email itself, you can also customize the subset of users you want to send an email to. We provide four options:
-
Signed up users that are not offboarded from the waitlist
If you decide to host any additional campaigns, like "get a hoodie if you refer 5 people", this is the right audience to send this to. -
Offboarded users that you have already given access to your application.
This is a great audience to send product updates to as you start improving your beta. They are already using your application and will likely be interested in your progress as you improve your product. -
Verified users who have clicked a verification link we sent to their email address.
These are users who are likely not bots and therefore a good audience to send product updates to. -
Unverified users who haven't clicked a verification link we sent to their email address.
This is great if you want to remind users to verify that they're not a bot.
In Mailchimp, the equivalent is a Regular Email Campaign,
in Sendgrid the equivalent is a Single Send,
and so on. In these cases, the most important part is to have an up-to-date list of all users.
With our Zapier integration, you can push all signups to the platform of your choice, but the platforms have different ways of configuring a subset of users.
Customer.io is likely the best platform for keeping track of data for each waitlist signups, including total referrals,
their position in the waitlist, and more. However, at $150 per month as their minimum subscription tier, this is an expensive option on top of fees with Zapier.
Using the Waitlist portal gives you equal flexibility, all the data you need to craft delightful email blasts,
and also other settings to customize the experience. We'll detail some of these settings below.
Logo
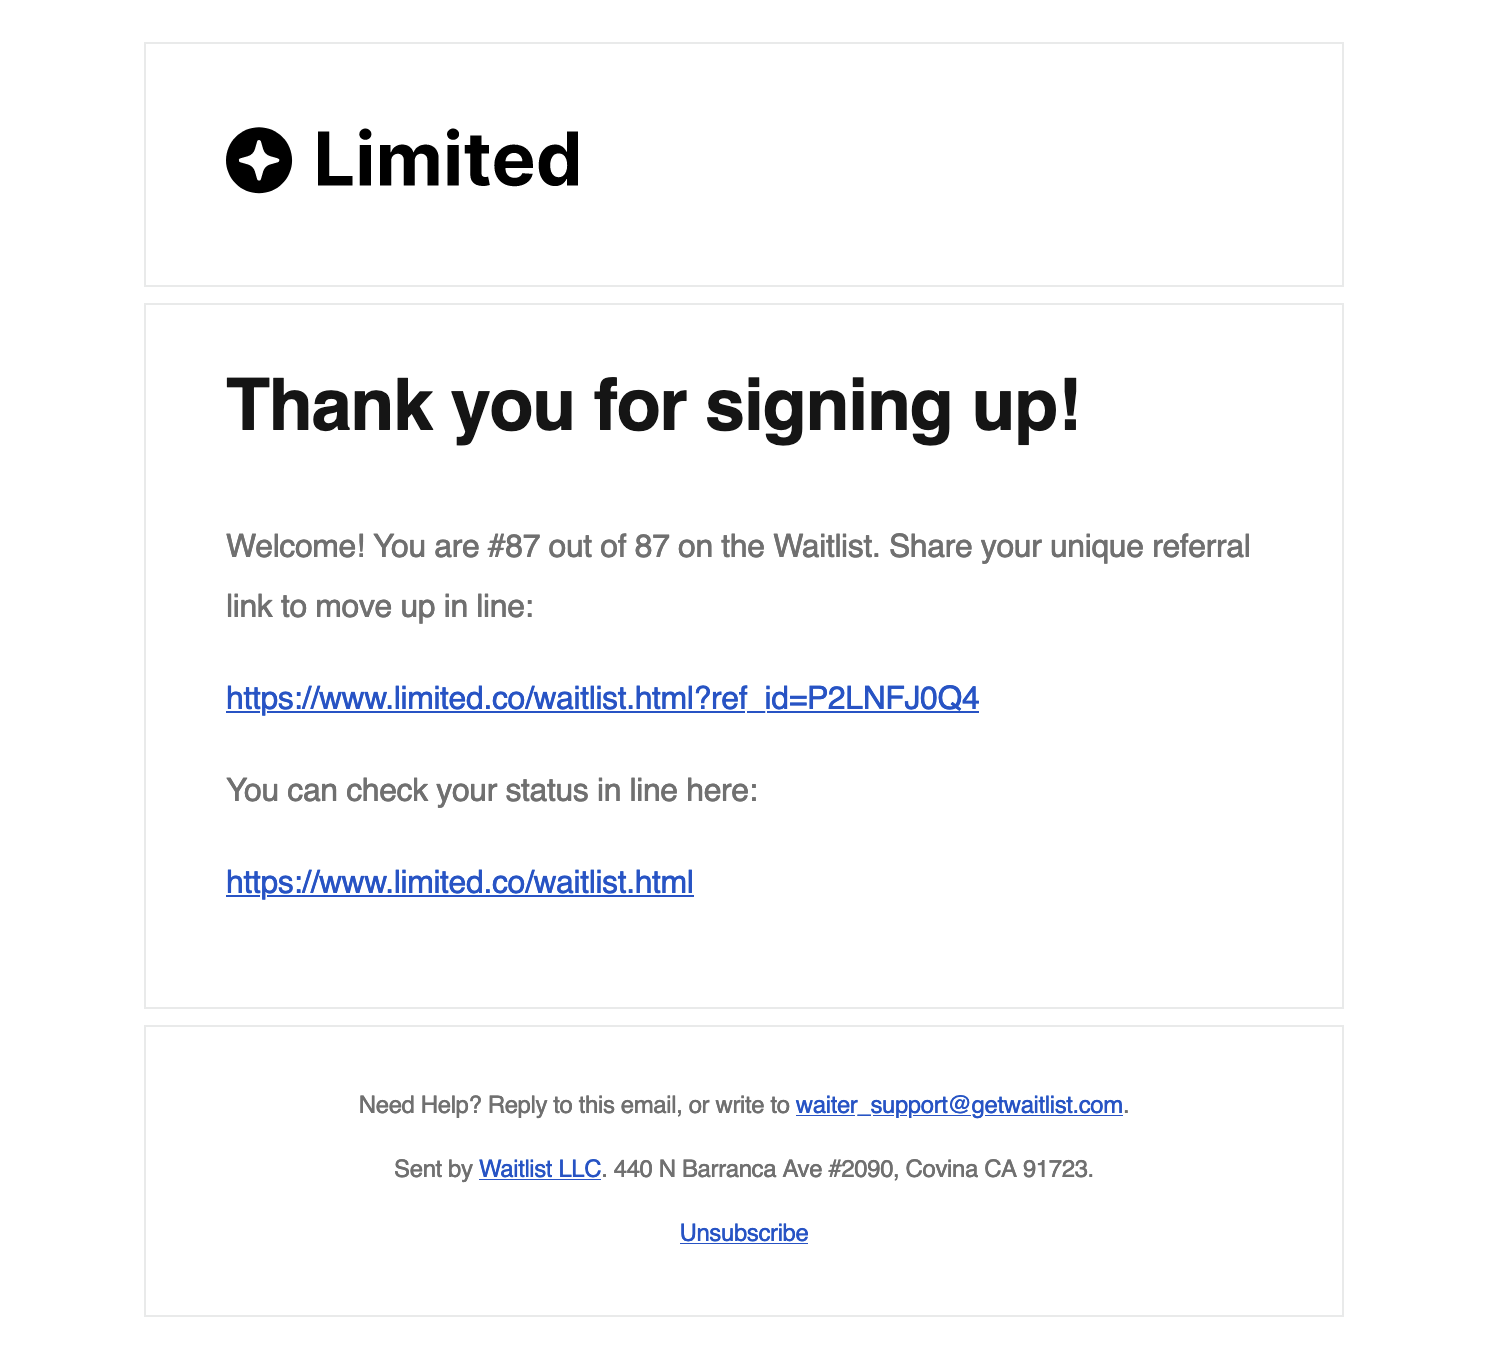
All emails can be configured to have a custom logo on the email-first tier. Below you can see an example for an email with a non-Waitlist logo.
Simply upload your logo in the Waitlist dashboard and you can get a custom email equivalent to popular email marketing platforms.
Custom Sender
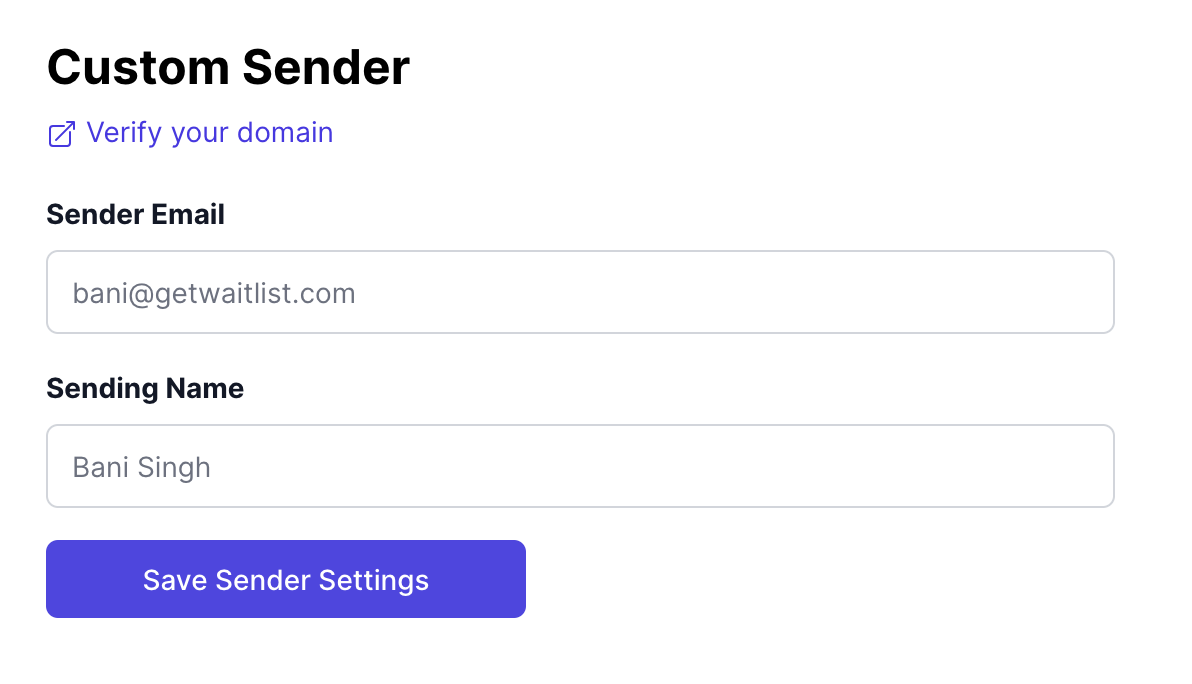
Setting a Custom Sender is a feature to send emails from your own domains.
Instead of your users receiving emails from our email, we send on behalf of yours.
Again, this is also a feature that is popular on platforms like Mailchimp
(Sender Domain),
Sendgrid (Sender Identity), and others.
@getwaitlist.comTo add a custom sender via Waitlist, you can simply follow our guide here.
It takes less than 5 minutes to set up, though DNS propagation can be a little more.
Email Variables
Importantly, for every email that you send out on Waitlist, certain variables are available for including in the email.
These will automatically pull in the relevant data from the signed-up user. The email variables include:
- priority: the Signup's spot in line.
- total_signups_currently: the number of Signups in the Waitlist.
- referral_link: the Signup's referral link to use for referring other users.
- waitlist_name: the name of the Waitlist.
- waitlist_url_location: the link to the Waitlist, which may sometimes be different from the referral_link.
- verification_link: the link for the Signup to click to verify their email.
Any variable can be used easily inside an email by surrounding it with curly braces, like .
{waitlist_name}Conclusion
At Waitlist, our goal is to help you set up the best waitlisting campaign for your product.
As part of this, we are building email tools that compete with industry-standard platforms and let you keep everything on one platform.
Email marketing should be fast, data-driven and with Waitlist, it's cheap and easy as well.
We've built out email automation and mass blast tools for you to get the most out of your marketing campaign.
