How to Integrate your Waitlist with Zapier
You can use Zapier to connect your Waitlist with thousands of external services, like Airtable, Mailchimp, Discord, Salesforce, Hubspot, Google Sheets, and many more. Virtually any service that you want to connect your Waitlist to will have a way to integrate Zapier. We make it easy to link your Waitlist to your Zapier account, and you can then trigger external services on Waitlist or Signup Actions.
What is Zapier?
Zapier is a web-based automation tool that connects various apps and services to streamline workflows. It allows users to create automated actions, known as "Zaps," between different applications without needing to code. These Zaps can transfer information and trigger actions across multiple platforms, making repetitive tasks more efficient. Zapier supports thousands of apps, including popular services like Gmail, Dropbox, and Notion, enhancing productivity by automating routine processes.
How are people using Zapier with Waitlist?
Customers are using Zapier's integration with GetWaitlist.com to automate and manage their waitlist processes more efficiently. Crucially, Zapier allows for actions to be triggered when a user signs up to the Waitlist. Commonly, that means transferring the user data into the Customer's CRM system or email marketing platform. From there, they can segment the Waitlist according to user metadata, like when they signed up, what device they're using, or where they are geographically. This helps in personalizing communication and managing customer engagement effectively.
For example, typical usage involves setting up a Waitlist, and then using Zapier to integrate with a customer list in Airtable, and to manage outgoing emails in Mailchimp. This setup allows users to deliver emails with the click of a button and analyze important metrics such as conversion rates and cohort sizes. You can then have a second Zap that triggers a Mailchimp email to go out whenever a Waitlist user is offboarded from the list, and you can integrate between Airtable and Mailchimp to see if the email was opened -- if not, then to send another email in the future.
There are many great ways to integrate Waitlist, depending on how your organization works! If you're heavy on Discord, for example, you can have every new signup get posted to a Discord channel. If you centralize around the Hubspot CRM, then a Zapier integration from Waitlist to Hubspot will do the trick. The Zap always contains all the data about a signed-up user, so it allows you to fully integrate a service rather than having to switch between that service and Waitlist.
Steps to activate Zapier
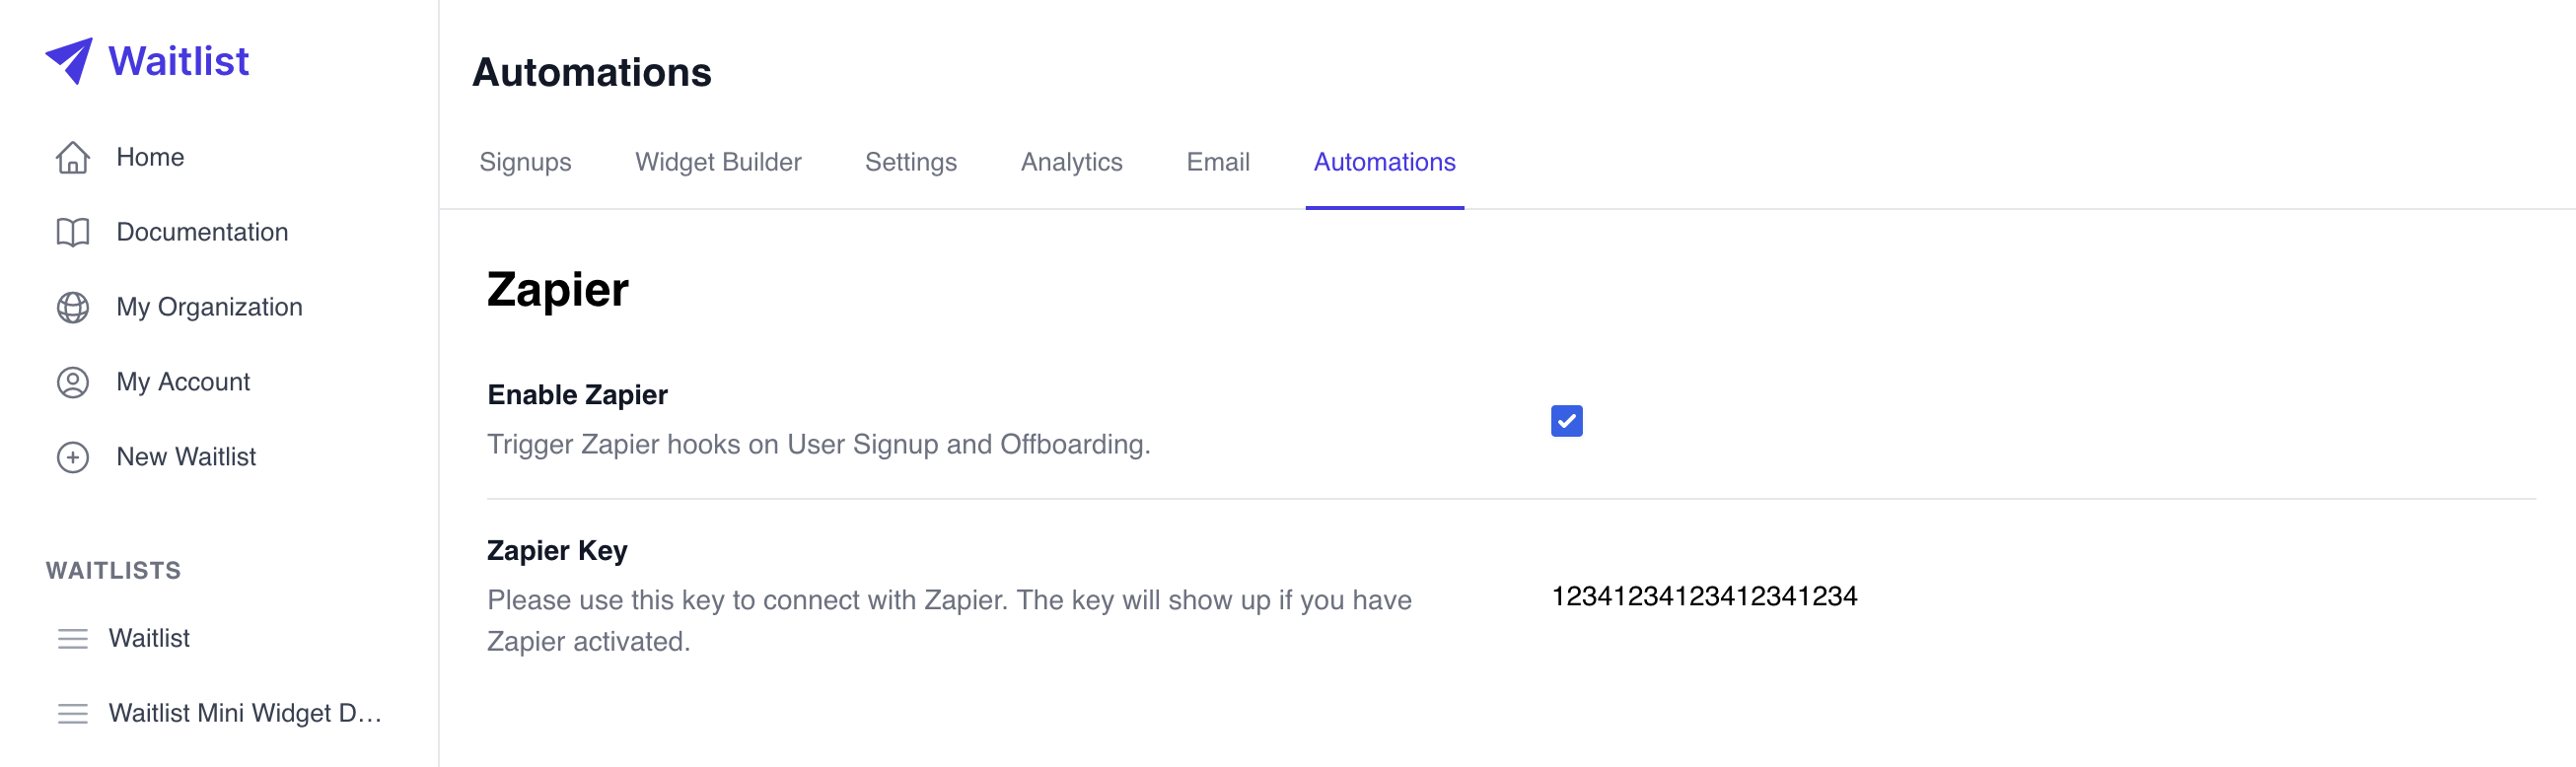
- Log into your Waitlist Dashboard, go into a Waitlist of your choice, and then go to the "Automations" tab.
- Check the "Zapier Access" box, and Save.
- Then refresh and copy your Zapier key:
- Navigate to Zapier and search for the Waitlist app. Alternatively, click here to Access the Zapier App.
- When asked for a key, paste in the Zapier key you copied from the Waitlist Dashboard in step 3. (Do not paste in your Waitlist ID).
- You should be ready to go!
- From inside your Widget Builder, you can put in a test submission to make sure that the Zap works correctly end-to-end.
Please note that any Zapier request (Zap) will timeout if it cannot establish a connection with Zapier in 30 seconds, or if it does not receive a response from Zapier in 90 seconds.
Available Zaps
New Signup
Example Use Case: Send a custom email when a user signs up! Connect with a service like Mailchimp, Sendgrid, or Convertkit, and place the new Signup into an email funnel.
This Zap triggers when a new user signs up to your waitlist.
New Referrer
Example Use Case: Send a thank you note to the person who referred someone else.
Triggers when an existing user refers another user. The included variables are outlined below.
Offboard Signup
Example use case: When a user is off the Waitlist and is ready to use your product, let them know! Connect with a service like Klaviyo or Mailchimp, and send them an automated email.
This Zap triggers when you offboard a Signup from the Waitlist using your Dashboard. The included variables are outlined below.
Zap Schema
Below is the data schema for all the information in any Zap. By API reference, this JSON object is the authenticated signup schema.
A Signup represents an individual participant who has signed up on a Waitlist.
This is an authenticated view of a Signup, meaning that it is only visible to the owner of the Waitlist for which the Signup has signed up. All information is returned.
Properties
- Name
amount_referred- Type
- integer
- Description
The number of other Signups referred by this one. Immediately after submission, it'll always be zero.
- Name
created_at- Type
- string
- Description
Serialized UTC timestamp of when the Signup was created.
- Name
email- Type
- string
- Description
The email address of this Signup.
- Name
priority- Type
- integer
- Description
The priority of the Signup on the Waitlist. Zero is best. A priority of 123 represents that there are 123 Signups in line before this one.
- Name
referral_link- Type
- string
- Description
The referral link of the Signup. They use this referral link when sharing with others.
- Name
referral_token- Type
- string
- Description
Unique token to credit this Signup when they refer other people to sign up. It's like an affiliate code.
- Name
referred_by_signup_token- Type
- string
- Description
The
referral_tokenof the Signup who referred this one, if applicable.
- Name
removed_date- Type
- string
- Description
Serialized UTC timestamp of when the Signup was removed from the Waitlist. Immediately after submission, it'll always be null.
- Name
uuid- Type
- string
- Description
A UUID that uniquely identifies this Signup.
- Name
verified- Type
- string
- Description
True if the Signup has verified their email address, False otherwise. Immediately after submission, it'll always be False.
- Name
removed_priority- Type
- integer
- Description
The Signup's priority when they were removed from the Waitlist. Immediately after submission, it'll always be null.
Optional Properties
- Name
first_name- Type
- string
- Description
The first name of the Signup.
- Name
last_name- Type
- string
- Description
The last name of the Signup.
- Name
phone- Type
- string
- Description
The phone number of the Signup.
- Name
metadata- Type
- object
- Description
You may supply any JSON object as metadata about the Signup.
- Name
answers- Type
- object
- Description
A JSON object of Waitlist questions to be shown on the Widget and answered by the Signup. This is an array of dictionaries, where in each dictionary the keys are
question_value,optional, andanswer_value. Thequestion_valueis the question text,optionalis a boolean indicating whether the question is optional or not, and "answer_value" can be null (for a freeform text answer), or a list of strings for options to select from. Note: Make sure thequestion_valuematches the saved values via the getwaitlist.com dashboard (in widget builder).
Authenticated Signup Object Example
{
    "amount_referred": 0,
    "created_at": "2022-04-10_18-34-28",
    "email": "[email protected]",
    "priority": 4985,
    "referral_link": "https://getwaitlist.com?ref_id=4F0BTBMAB",
    "referral_token": "4F0BTBMAB",
    "referred_by_signup_token": null,
    "removed_date": null,
    "removed_priority": null,
    "uuid": "c60ff9f2-1a58-4551-87ea-414991184fba",
    "verified": false,
    "answers": [{'question_value': "What is your favorite animal?", 'optional': false, "answer_value": "Cat"}],
    "phone": null,
    "first_name": "Maya",
    "last_name": "Kyler",
    "metadata": {},
    "waitlist_id": 1234
}