Integrate a Waitlist into your Framer Website
This guide will show you how to integrate a no-code Waitlist Widget into your Framer website.
What is Framer?
Framer is a comprehensive design and prototyping tool that empowers you to create interactive and visually stunning websites. While it's primarily known for its design and prototyping capabilities, you can also use Framer to set up a pre-launch waitlist page. Framer is an excellent choice if you prioritize design and user experience and are willing to invest time in creating a visually impressive pre-launch waitlist page. However, for those seeking a simpler and more straightforward solution for setting up a waitlist, other website builders like Squarespace or Typedream may be more suitable.
Getting Set up with Framer for your Waitlist
To make a pre-launch waitlist with Framer, the first thing you have to do is figure out what webpage you want to host your Waiting list form (or waitlist widget) on. For most users that's the landing page, but some users will want to put the waitlist on a different page. For example, if your landing page is already promoting a well-known product, you may want to launch your new product on a second page. Once you've made a page in Framer that you want to host your Waitlist on, then you can get started with the integration.
How to Integrate
There are two ways to integrate Framer with Waitlist! One of them uses the native Framer Input Component. The other uses the default Waitlist Widget, inserted into Framer (similar to all other no-code Waitlist integrations). We will cover both, below.
Native Framer Integration
-
The native Framer integration leverages the Framer Input Component.
-
When you make a Framer webpage, you can insert an Input Component, and select the "GetWaitlist" option.
-
Navigate to your Waitlist Dashboard and click on the Waitlist you want to integrate.
-
In your Waitlist Dashboard, go to the "Settings" tab. Make sure that the "Waitlist URL" field matches the Framer page that contains the Waitlist Input Component.
-
In your Waitlist's Settings, copy the ID (it's a number like 12345) and paste it in the Framer Input Component configuration menu. There should be a field in that Framer menu that says "ID" or "API Key".
-
You are all set. Publish your Framer page, make a test signup in the Input Component, and then go to your Waitlist Dashboard to make sure that the Framer-Waitlist integration worked correctly.
Waitlist Widget Integration Guide
-
Go to your Waitlist Dashboard and then go to the Waitlist you want to use.
-
Go to the "Settings" tab. Make sure that the "Waitlist URL" field matches the Framer page that you want to host the Waitlist Widget on.
-
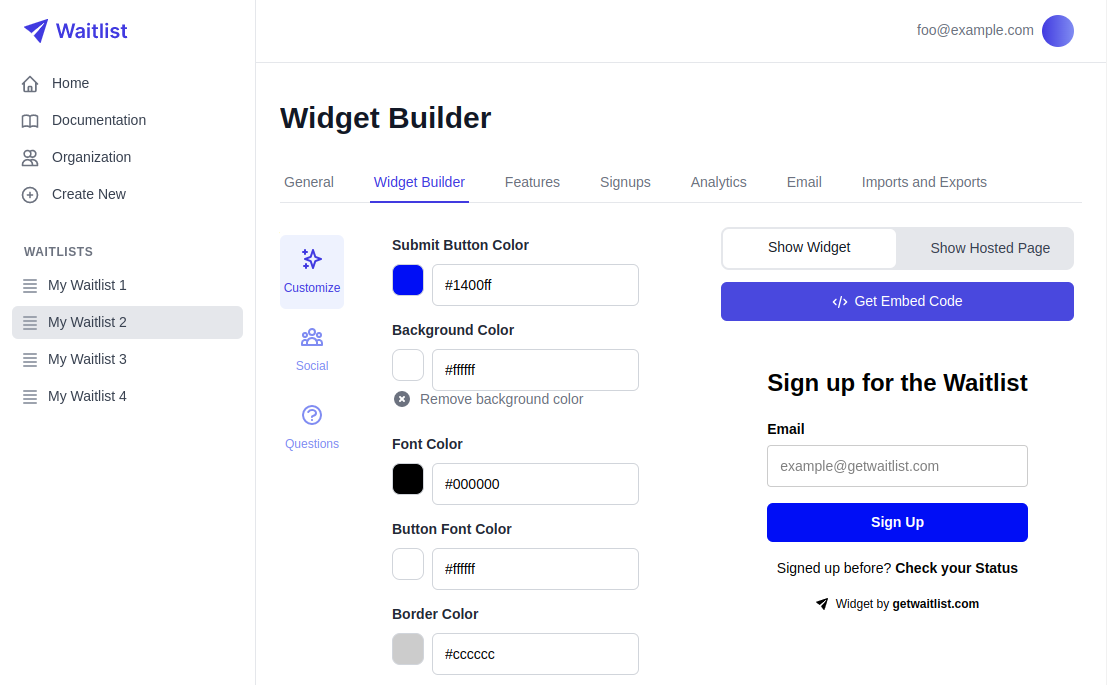
Go into the Widget Builder, and click the "Get Embed Code" button.
-
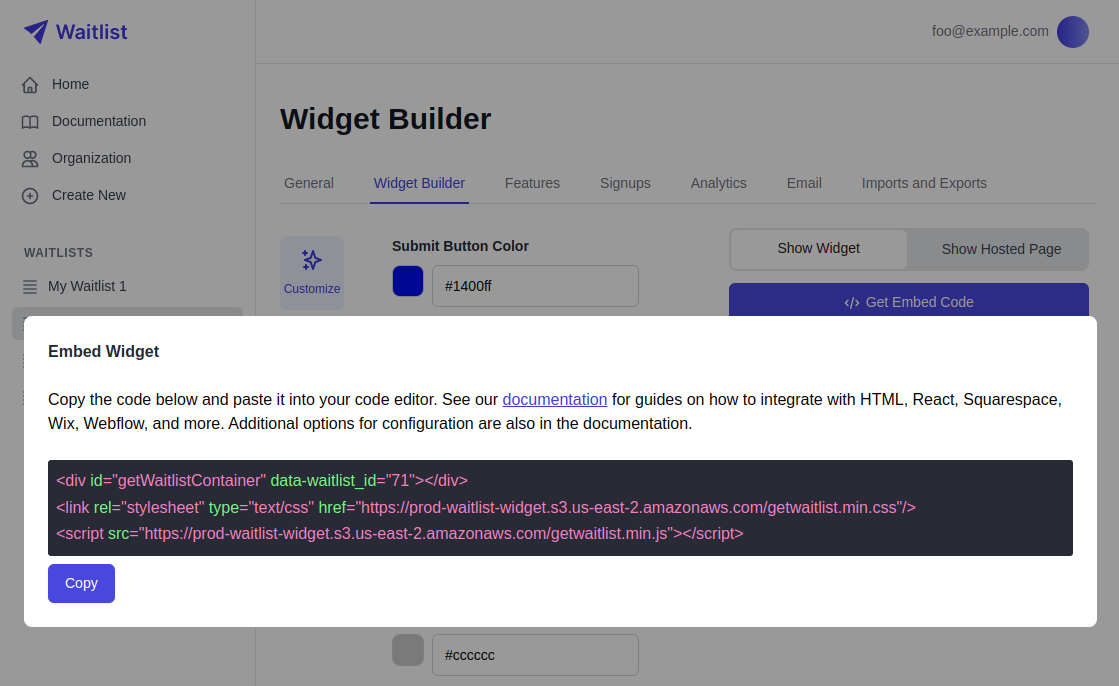
The window that pops up will give you a small code snippet to copy. Click the copy button.
-
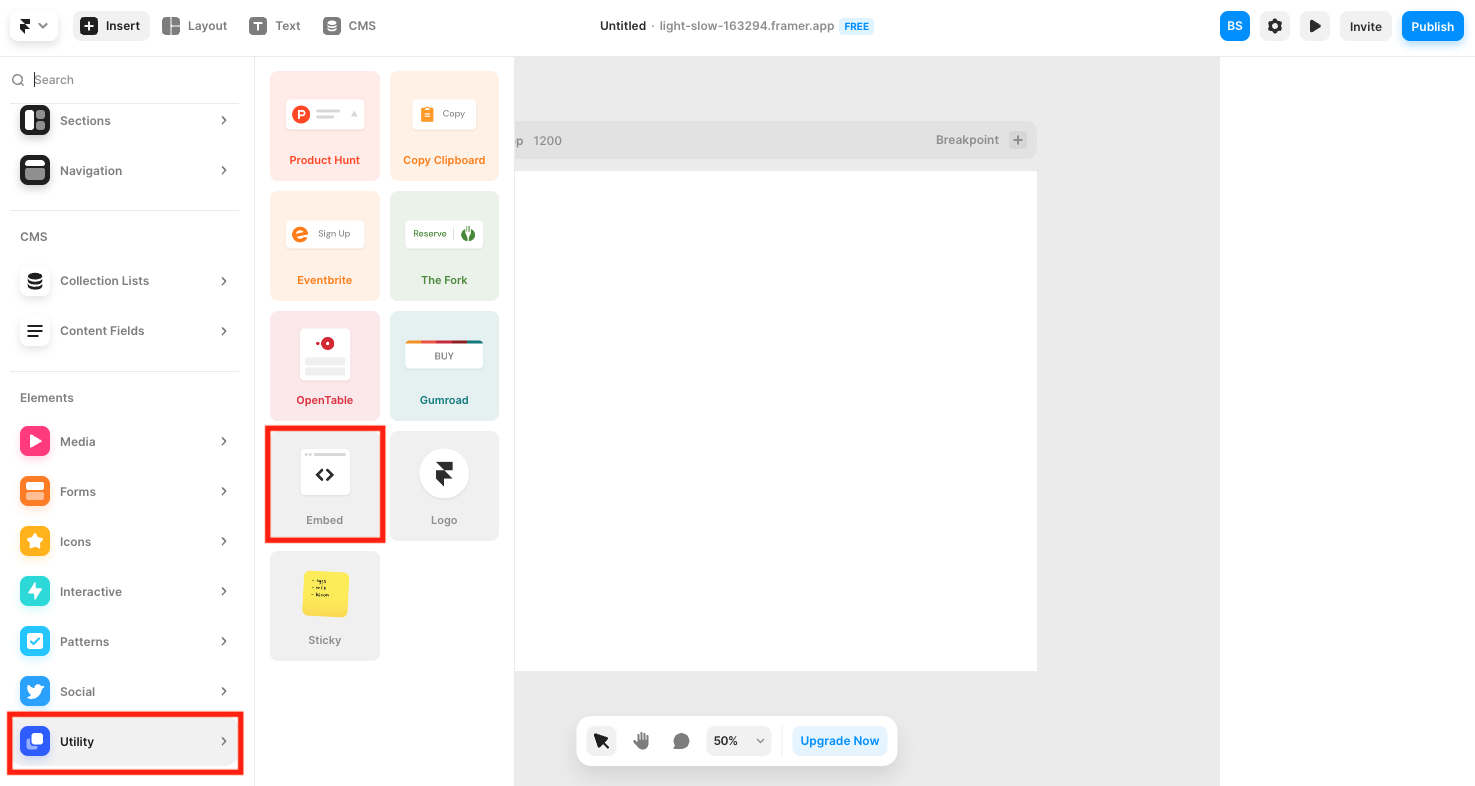
Go to your Framer site, click on "Insert", then "Utility", and then "Embed". Drag the embed box into your canvas.
-
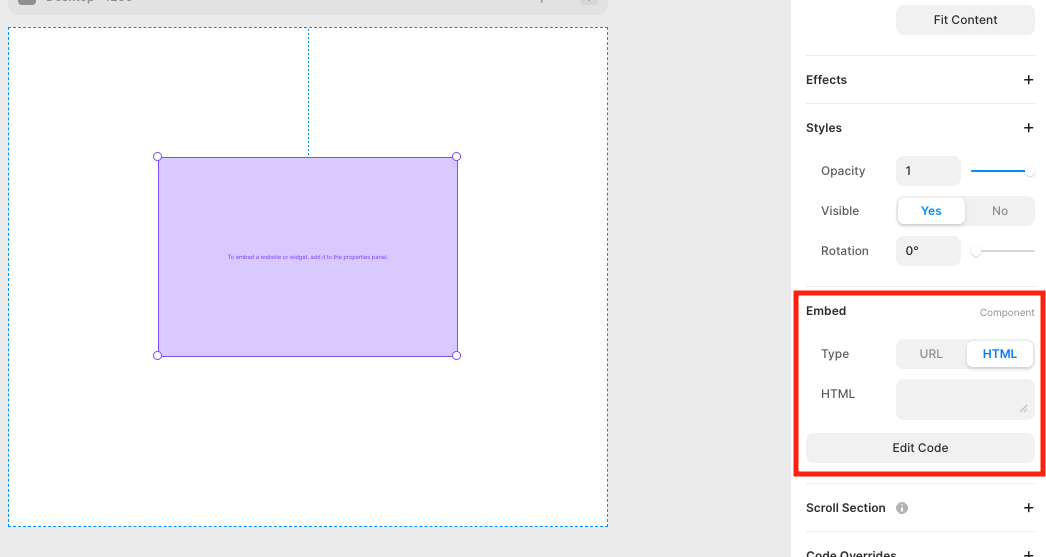
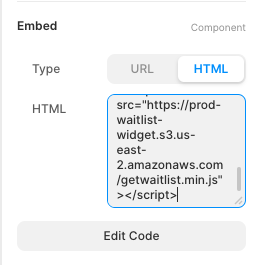
In the right side panel, scroll down to the "Embed" section, click "HTML" in the toggle.
-
Paste the code snuppet from step 4 into the box.
-
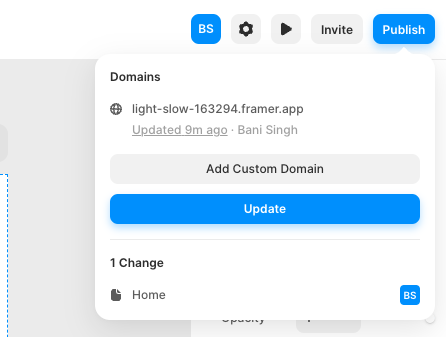
Publish and update your side on Framer by clicking the top blue button.
-
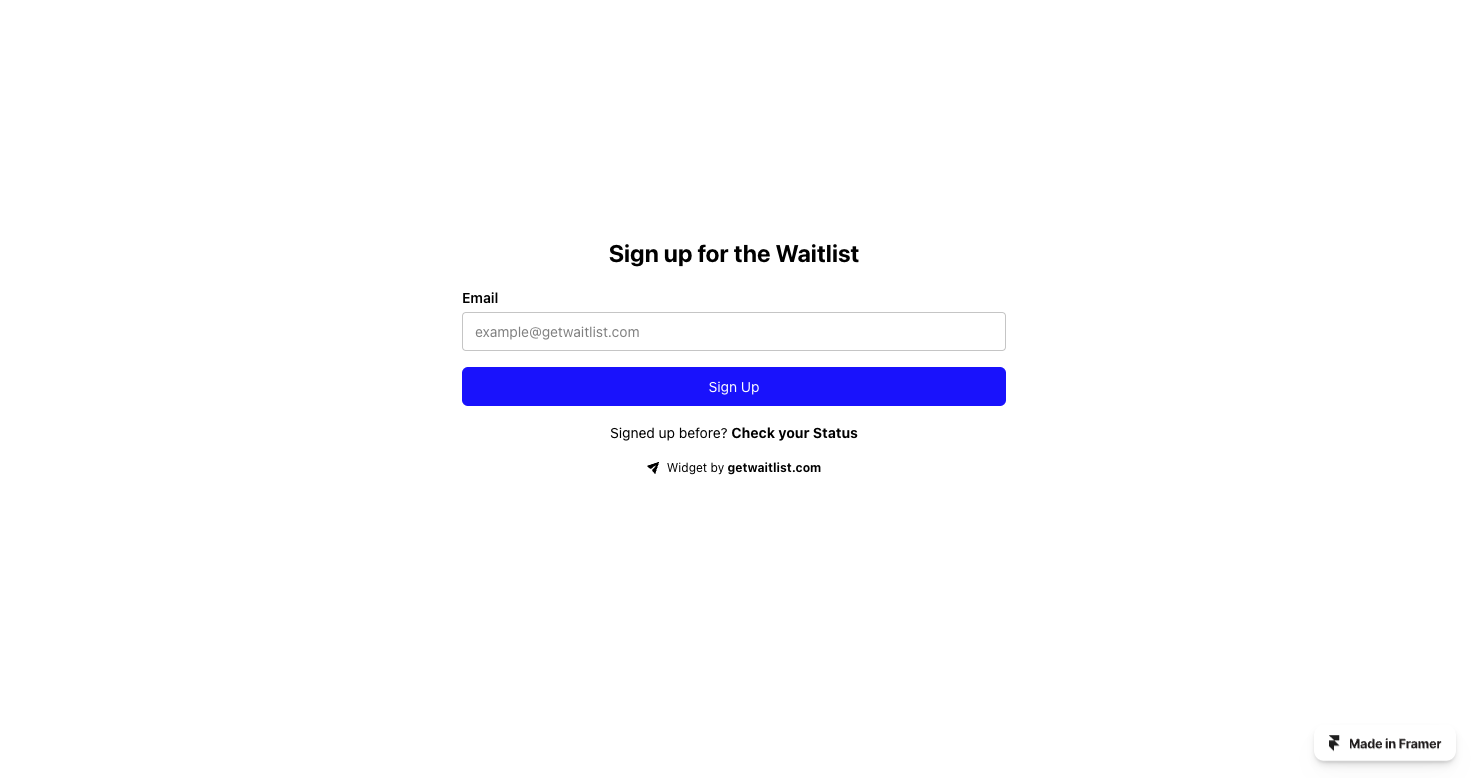
Go to your Framer site and your waitlist widget should now be visible.
-
After you've published your Framer site, make a test signup in the Waitlist Form to double-check that your Framer integration worked correctly.
Troubleshooting
If you need any help with your Framer-Waitlist integration, you can always contact us at [email protected] and we will be happy to assist.