How to Protect Your Waitlist from Spam with a CAPTCHA
When preparing to launch your product or service, it's important to prevent bots, spammers, or other malicious users from signing up. We enable you to customize your Waitlist, and add a CAPTCHA step to the signup process. This guide covers how.
Why do you need CAPTCHA?
Ideally, every email address that joins your pre-launch waitlist is a real human, interested in your new product.
You want to secure your signup form from robots, spam, and other nefarious actors. To stop spam from making its way into your signup queue, there are several things you can do. One effective way is to use a CAPTCHA test, specifically reCAPTCHA, for human verification during the signup process.
CAPTCHA stands for "Completely Automated Public Turing test to tell Computers and Humans Apart." It is a security measure used to verify that the user interacting with a website or application is human and not a bot. CAPTCHAs usually present challenges, such as deciphering distorted text, orientation puzzles, or image recognition tasks, that humans can solve easily but are difficult for automated programs to tackle. This eliminates bots and ensures that your waitlist consists only of real, interested users.
Broadly, enabling CAPTCHA has two effects:
- Prevents bots, spam, and other automated scripts from signing up to your waitlist by enforcing human verification.
- Protects you from false metrics. If there are spam signups, it could give you the wrong impression of how many users are actually interested in your product or service pre-launch.
Steps to activate CAPTCHA for a Waitlist
CAPTCHA will only work on the "getwaitlist.com" domain. To use CAPTCHA on a custom domain (like when you embed the widget in your own website), you'll have to use an iframe to embed the Widget.
- From your Waitlist Dashboard, navigate to your Waitlist.
- Inside of your Waitlist, go to the "Settings" tab, then scroll down to the "Enable Captcha" option.
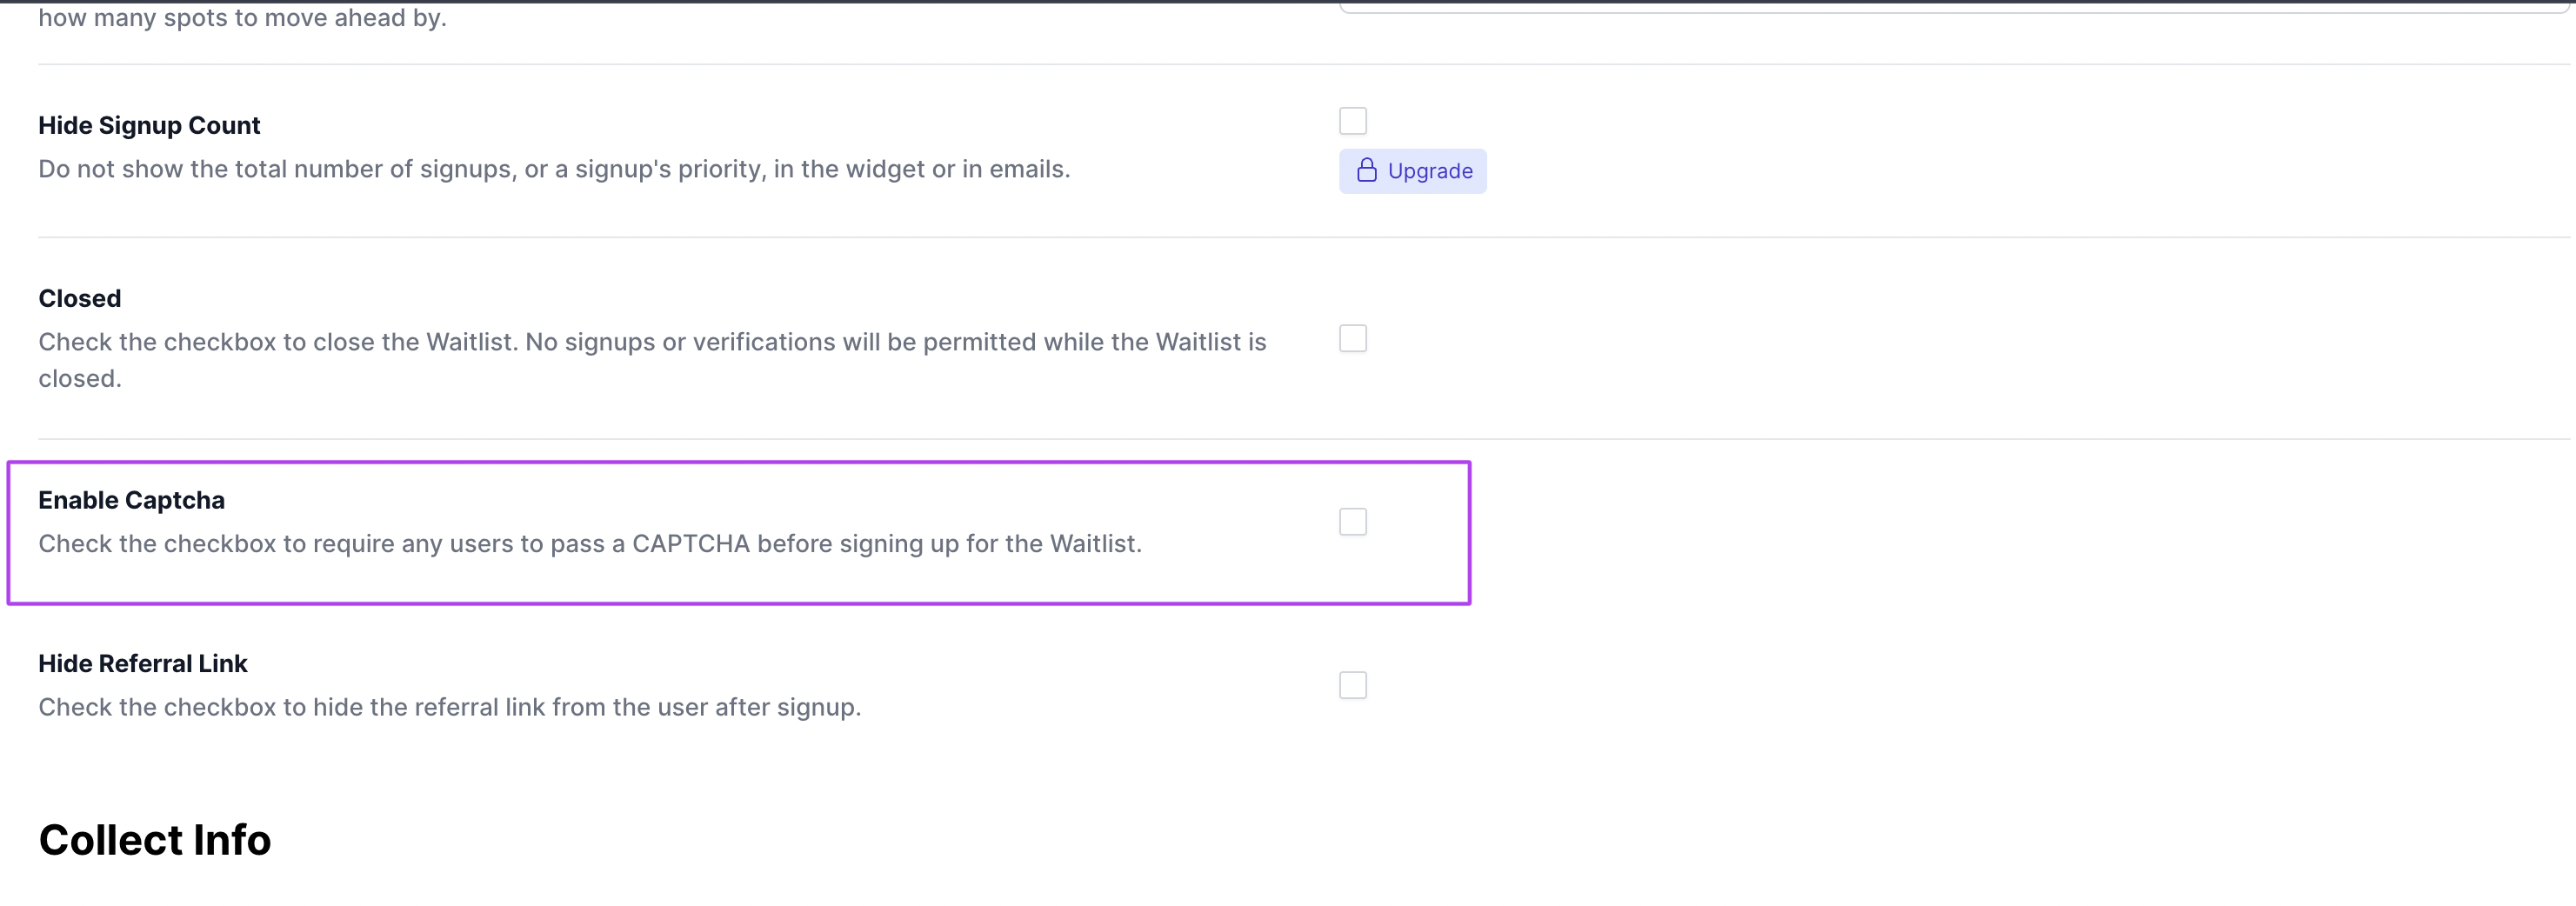
- Tick the checkbox and save your updates.
- Once this is done, CAPTCHA will be automatically enabled for your waitlist, and users will be required to pass the test before being added to the queue!
CAPTCHA Information on your Signups
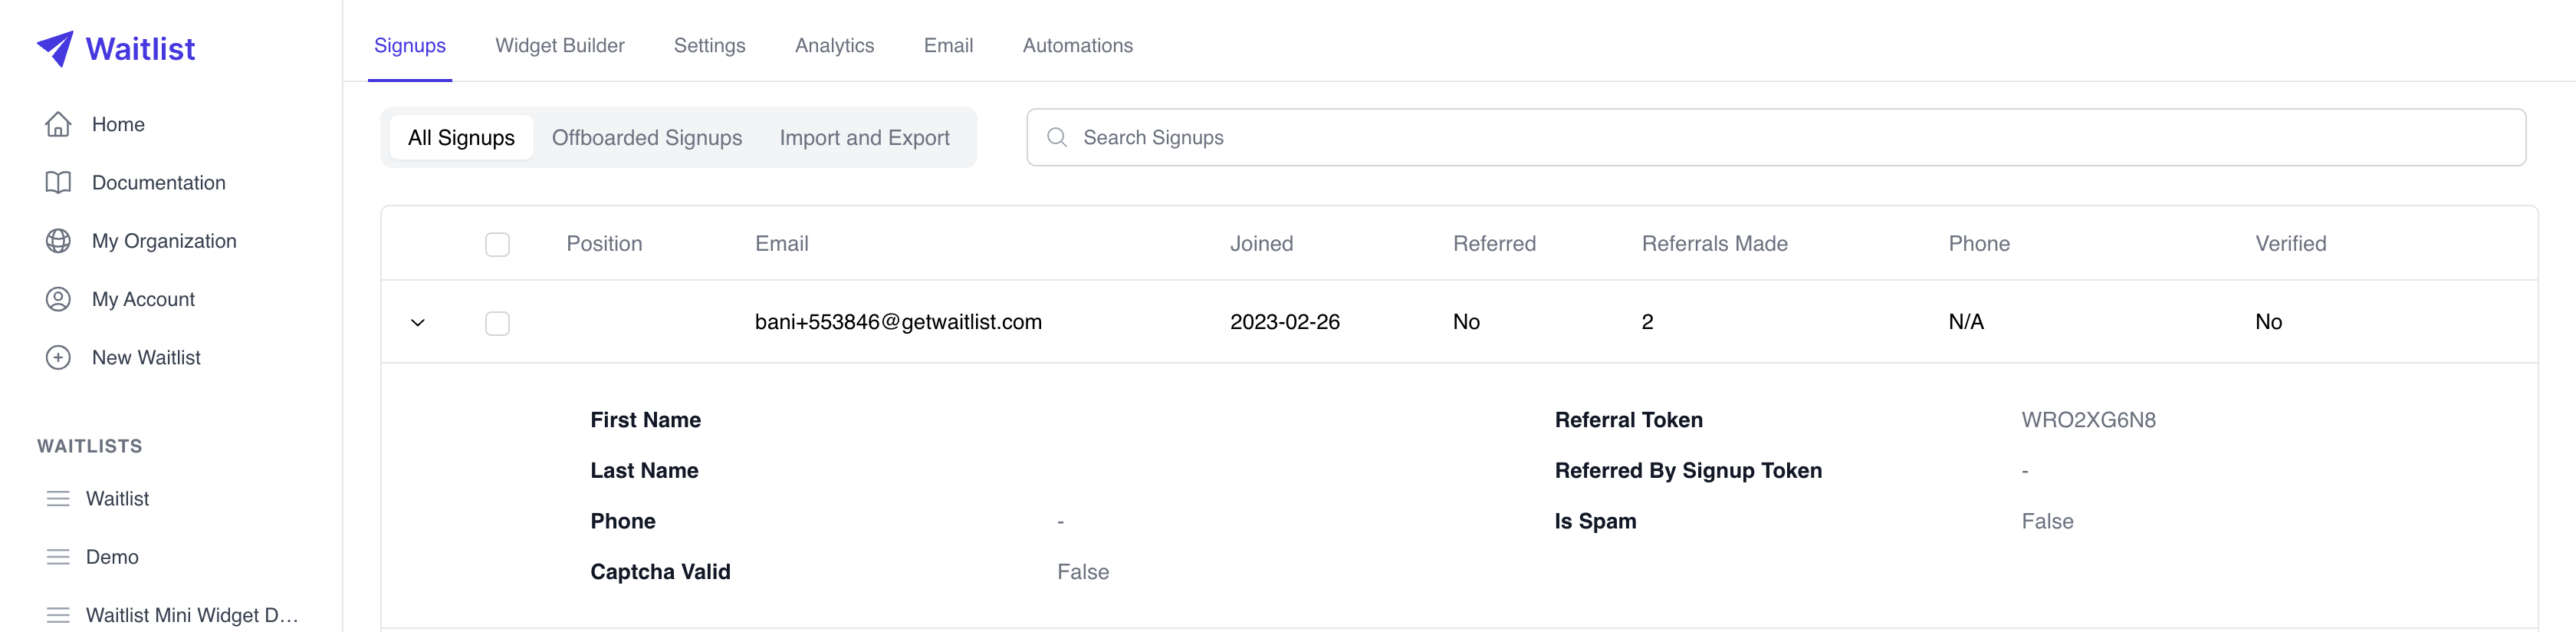
All users who sign up for your waitlist will be registered to your Waitlist, whether they complete the CAPTCHA or not. However, users who successfully complete the CAPTCHA will be shown with Captcha Valid? True in your signups table in your waitlist dashboard. Those who do not will be marked as Captcha Valid? False. This will also be present on your CSV export, so you can easily filter your audience down to the all the ones who passed the CAPTCHA. If a user fails a CAPTCHA once, they will have the opportunity to try again.
Further Measures Against Spam
To further protect against automated submissions, you can turn on additional human verification methods like email verification or email whitelisting in addition to the CAPTCHA test.
While CAPTCHA serves as a robust barrier against automated spam and malicious bots, it's important to recognize that it isn't entirely foolproof. Sophisticated bots and AI systems are continuously evolving, becoming more adept at bypassing traditional CAPTCHA challenges. As such, CAPTCHA should be viewed as a significant hurdle rather than an impenetrable wall. It effectively deters high volumes of automated spam and casual attackers, ensuring that only more determined and resourceful adversaries attempt to breach it. In our experience, such adversaries are extremely rare for pre-launch waitlists, since the financial motivation for breaching CAPTCHAs is usually very low. However, if you seek an enhanced security posture, consider layering additional, email-based security measures over CAPTCHA to create a more comprehensive defense against automated spam signups.