Getting Started: Making your First Waitlist and Collecting Sign-Ups
Welcome to Waitlist! We're excited to help you launch your next big thing! Waitlist is the best tool for creating great pre-launch campaigns.
Registering
To get started, go to Waitlist and click Sign Up.
Alternatively, create an account by signing up here.
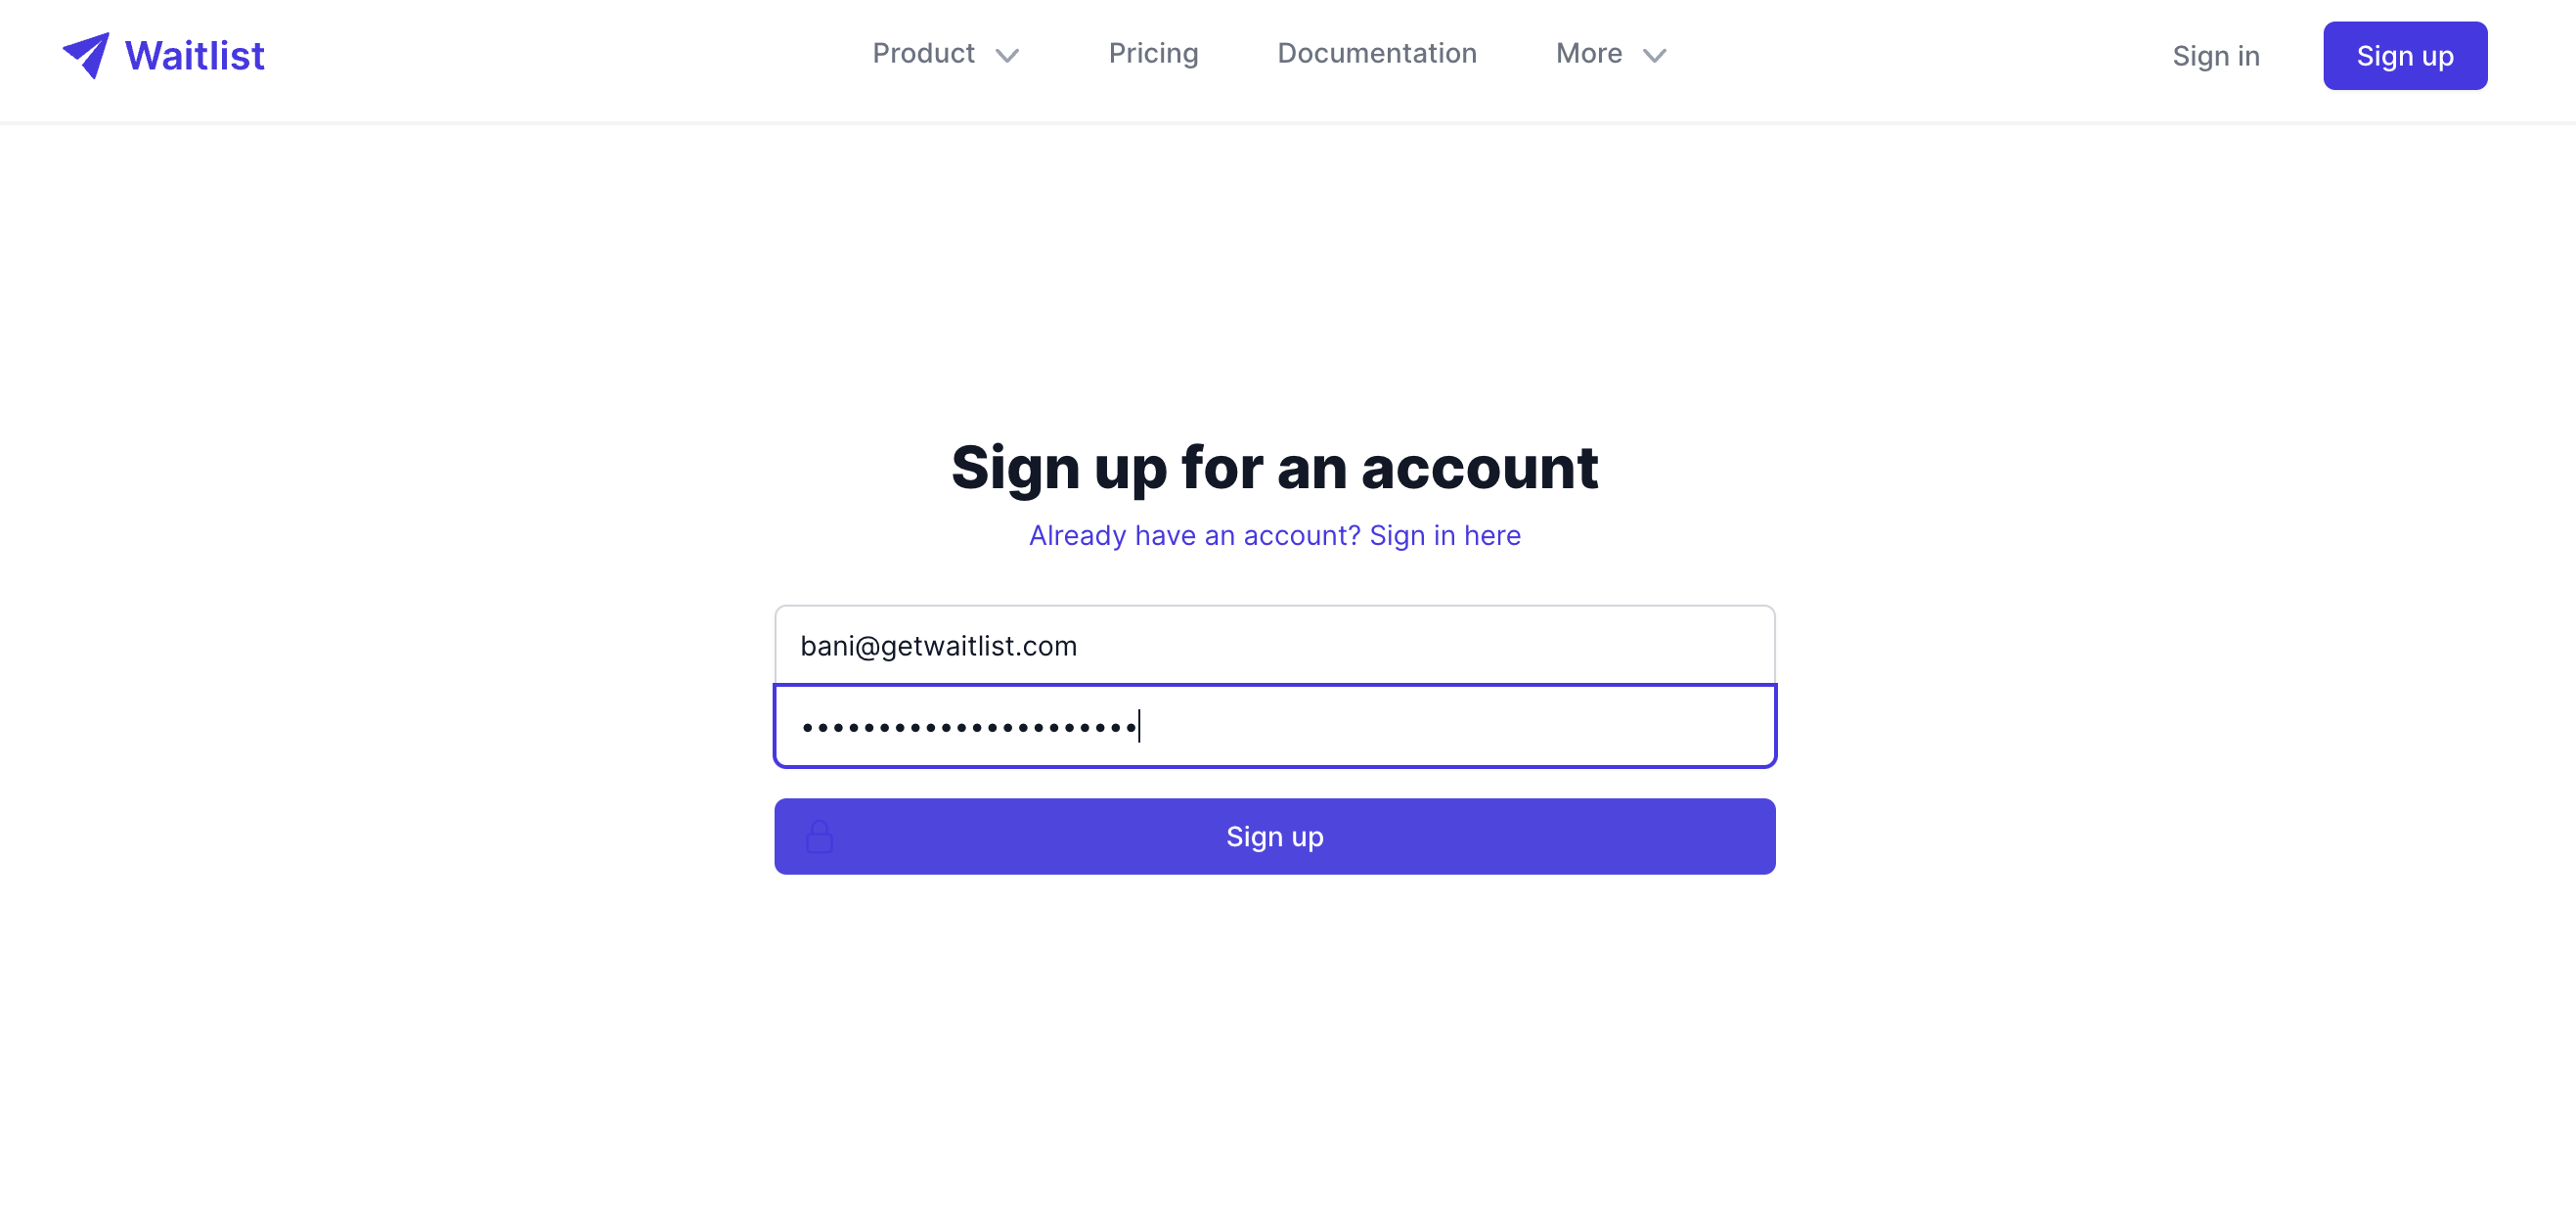 Signing up on Waitlist is straightforward. Simply fill in the required details, and you'll have access to all the tools needed to manage your pre-launch campaign effectively.
Creating your first Waitlist
-
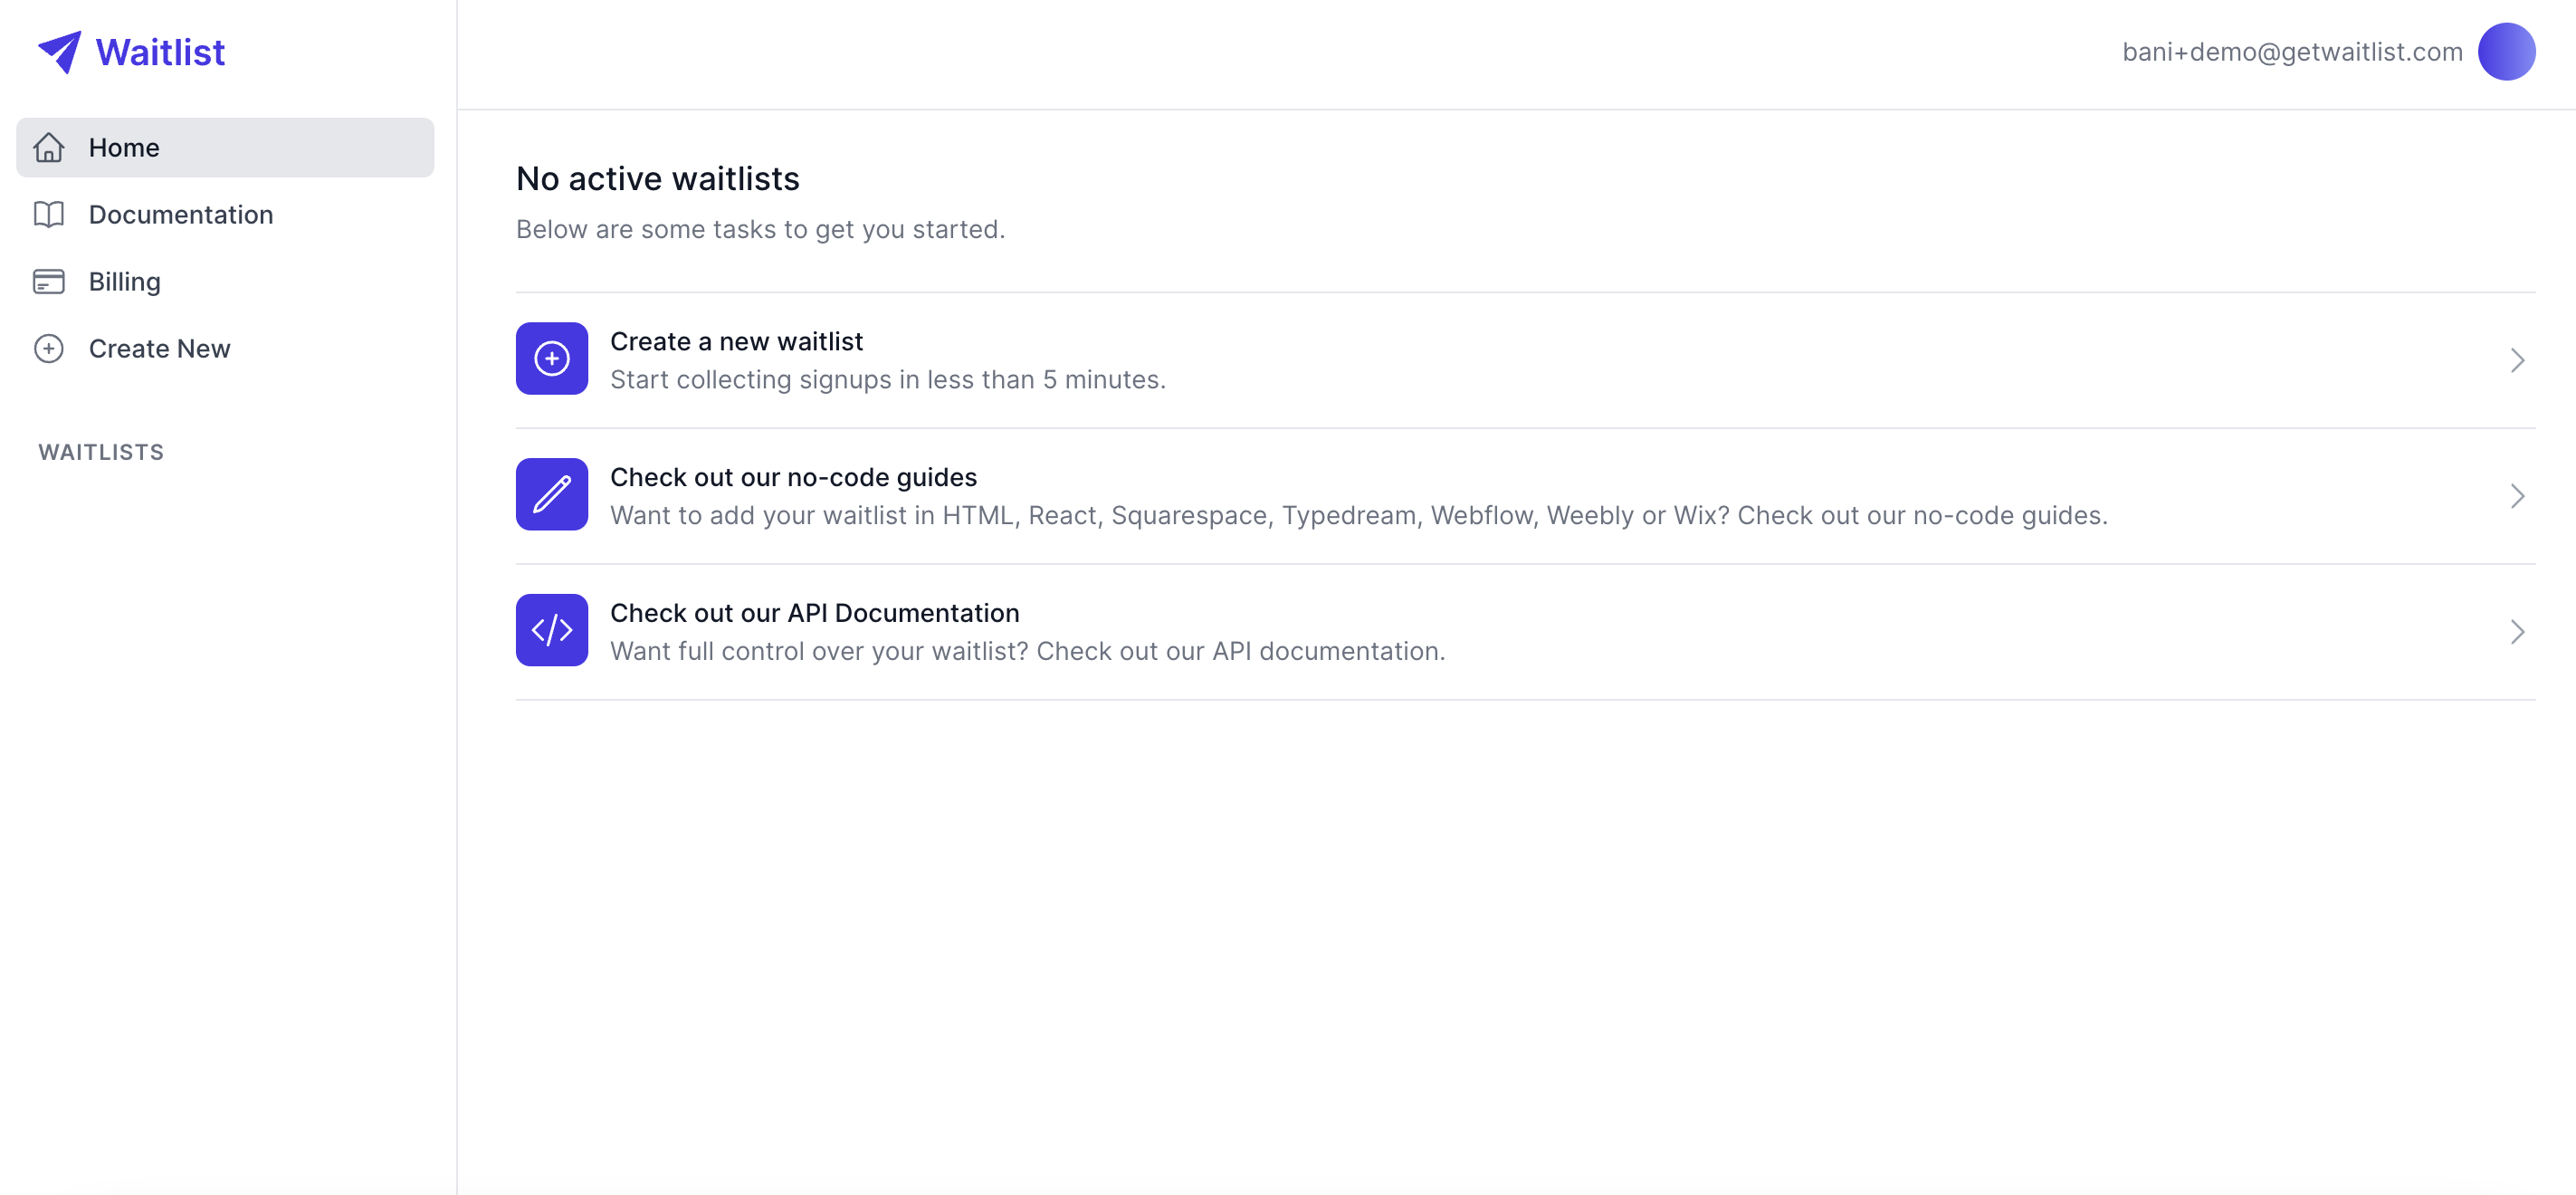
Access Your Dashboard: Once you've completed the waitlist sign-up process and are logged into your dashboard, click "Create a new waitlist".
-
Configure Basic Waitlist Settings: You'll be prompted to set up some basic configurations for your waitlist page:
- Waitlist name: The name of your waitlist. This will be the default name in any messaging to your signups, so choose something appropriate. This name will be a crucial part of your waitlist content, setting the tone for your campaign
- Waitlist URL: Put in the URL where you intend to host your Waitlist. For example, if you're planning to host the Waitlist Form on your website at https://example.com/1234, then that's what you should put in this field. It's important that it's correct since we use it to generate referral links. You can leave it blank if you want us just to point to our hosted landing page for Waitlist.
- Spots Skipped on Referral: This setting allows you to incentivize referrals. If you set this as
5, a user will move up 5 spots on the waitlist if they successfully refer a friend. This feature can significantly boost your waitlist content's virality, encouraging more people to join. - Email New Signups: Whether or not you want us (getwaitlist.com) to email new signups that sign up on your waitlist with their referral link and current position. Automating these emails ensures that your new users stay engaged and informed about their status on the waitlist page.
- Verify Signups by Email: If you enable this, we'll send new users who sign up an email where they have to click a link to verify themselves before they can move up on the waitlist. This helps in maintaining the quality of your waitlist sign-ups and ensures that all entries are legitimate.
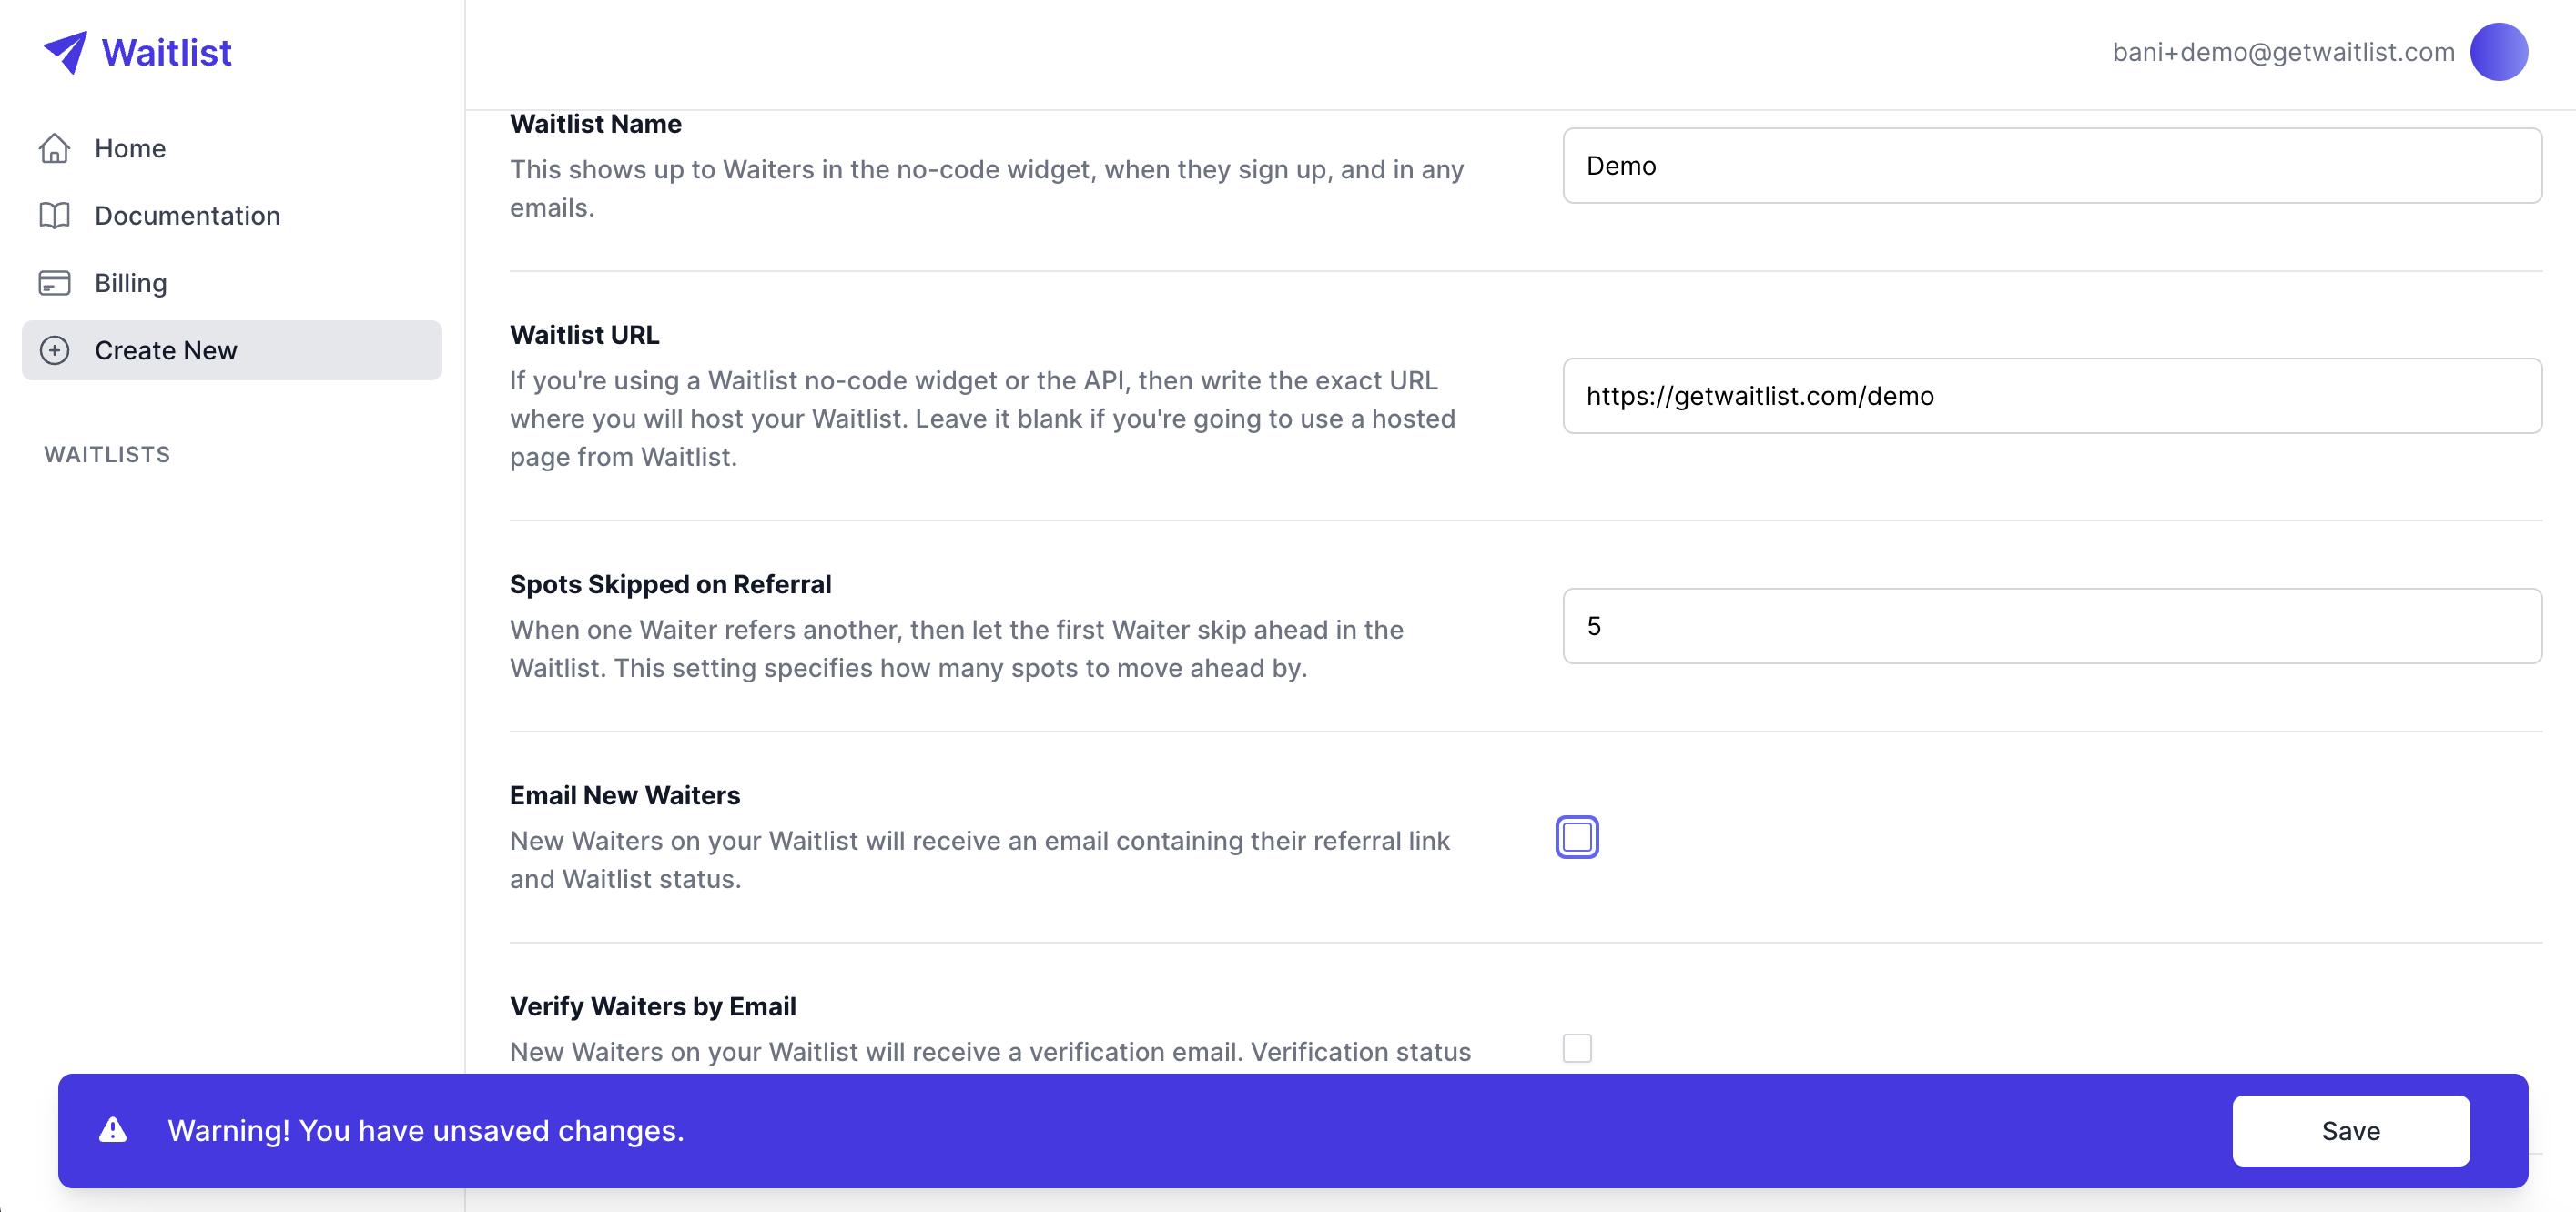
- Future Adjustments: You'll have the ability to change any of the above Waitlist settings, and many more, at any time in the future.
What's next?
Great, you're now set up with your first waitlist page! There's a lot more you can do to configure your waitlist pre-launch. Below are a few links that may be the right next steps for customizing your waitlist and launching:
- See what you can customize on your Waitlist dashboard: Discover all the customization options available on your waitlist dashboard to tailor your campaign to your specific needs.
- Check out our no-code platforms you can add your waitlist to: Learn how to integrate your waitlist with various no-code platforms to streamline your pre-launch process.
- Read our API Documentation to integrate with your existing stack: For those who prefer a more technical approach, our API documentation will guide you through integrating the waitlist with your current systems.
- Check out features like leaderboards, Zapier, and more: Explore additional features like leaderboards and Zapier integrations to enhance your waitlist's functionality and engagement.