Integrate a Waitlist into your Website Using an Iframe
To embed an iframe (for example on Notion or other websites), follow the guide below.
Advisory: we recommend using other integration methods over using an iframe. It can be challenging to make an iframe resize responsively to the content inside. However, if you are having difficulties with other integration methods for any reason, then using an iframe can be a good alternative. Common reasons for this include CSS/JS conflicts, or wanting to use multiple Widgets on the same page.
Integration Guide
-
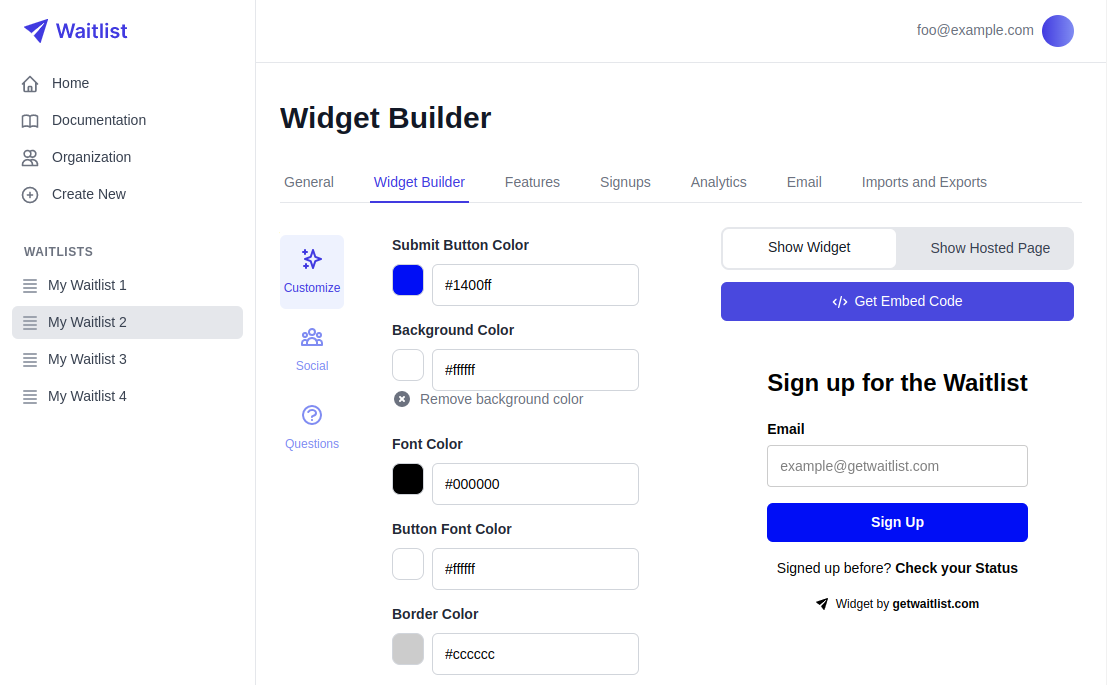
Go to your Waitlist Dashboard, navigate to the Waitlist, into the Widget Builder, and click "Show Hosted Page".

-
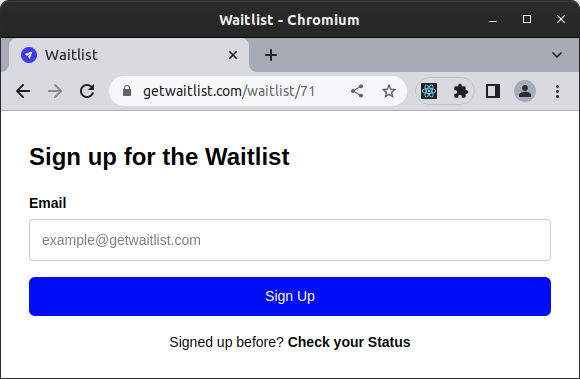
You'll get taken to the website for the Hosted Page. Note the URL. This one is
https://getwaitlist.com/waitlist/71.
-
Paste the following snippet into your code editor, wherever wherever makes sense for the Waitlist to be on the page.
Iframe Code
    <div height="[YOUR HEIGHT HERE]" width="[YOUR WIDTH HERE]">
        <iframe
            allowtransparency="true"
            allow="clipboard-write"
            id="waitlist_iframe"
            frameborder="0"
            marginheight="0"
            marginwidth="0"
            width="[YOUR WIDTH HERE]"
            height="[YOUR HEIGHT HERE]"
            src="[YOUR URL HERE]"
            style="border-radius: 8px;"
        >
        </iframe>
    </div>
    <script>
        const url = new URL(window.location.href);
        const ref_id = url.searchParams.get('ref_id');
        if (ref_id) {
        document.getElementById("waitlist_iframe").src += `?ref_id=${ref_id}`;
    }
    </script>
- In the snippet above, swap out:
[YOUR URL HERE]for the URL of your Waitlist, which you found earlier in step 2. In our example, that washttps://getwaitlist.com/waitlist/71.[YOUR HEIGHT HERE]for the height of your Widget.400pxis a good starting value. You can adjust this as needed.[YOUR WIDTH HERE]for the width of your Widget.600pxis a good starting value. You can adjust this as needed.
-
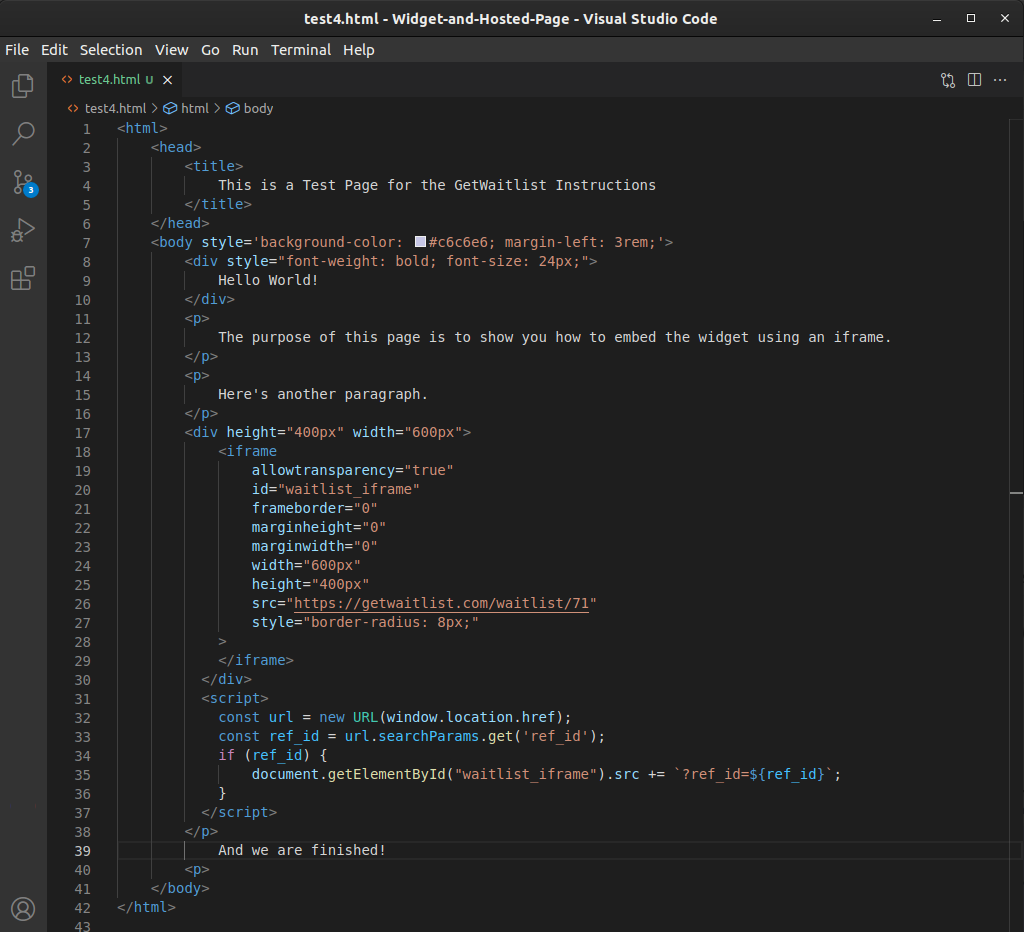
Here is an example of how it looks in my code editor:

-
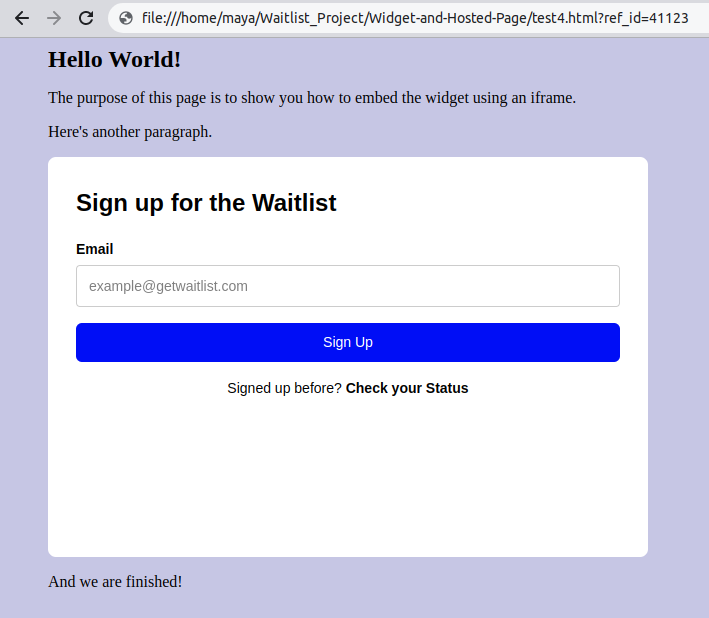
Open it up in a browser and try it out!

-
In this example, there's a lot of whitespace, so I'd want to go back and decrease the height in the
<div>and<iframe>. You should step through the Widget to make sure the height and width are appropriate -- remember that the Widget can increase or decrease in height as you go through the flow.
Copy-Pastable Code Example
Copy-pastable Code
    <html>
    <head>
        <title>
            This is a Test Page for the GetWaitlist Instructions
        </title>
    </head>
    <body style='background-color: #c6c6e6; margin-left: 3rem;'>
    <div style="font-weight: bold; font-size: 24px;">
        Hello World!
    </div>
    <p>
        The purpose of this page is to show you how to embed the widget using an iframe.
    </p>
    <p>
        Here's another paragraph.
    </p>
    <div height="400px" width="600px">
        <iframe
            allowtransparency="true"
            allow="clipboard-write"
            id="waitlist_iframe"
            frameborder="0"
            marginheight="0"
            marginwidth="0"
            width="600px"
            height="400px"
            src="https://getwaitlist.com/waitlist/71"
            style="border-radius: 8px;"
        >
        </iframe>
    </div>
    <script>
        const url = new URL(window.location.href);
        const ref_id = url.searchParams.get('ref_id');
        if (ref_id) {
        document.getElementById("waitlist_iframe").src += `?ref_id=${ref_id}`;
    }
    </script>
    </p>
    And we are finished!
    <p>
    </body>
    </html>
Customization
Please note that unlike other integration methods, the iframe does not allow for further customization using the "Widget Embed Options".
Redirection in iFrames
When you're using an iFrame for integrating a waitlist signup form, and you have enabled the redirection feature, it's important to understand how this setup affects your users' experience post-signup. Typically, after a user completes the signup process, they are taken to a different page. In this scenario, if redirection is active, the user will be taken to a new, full browser page immediately after they sign up. This means they will not stay within the confines of the iFrame that originally contained the waitlist signup form. Instead, the redirection will encompass the entire browser window, leading the user away from the original page where the iFrame was embedded. This behavior is crucial to note, as it can affect how users interact with your website or platform after signing up on the waitlist. It's different from a scenario where the redirection would only occur within the iFrame itself, keeping the user on the original page.